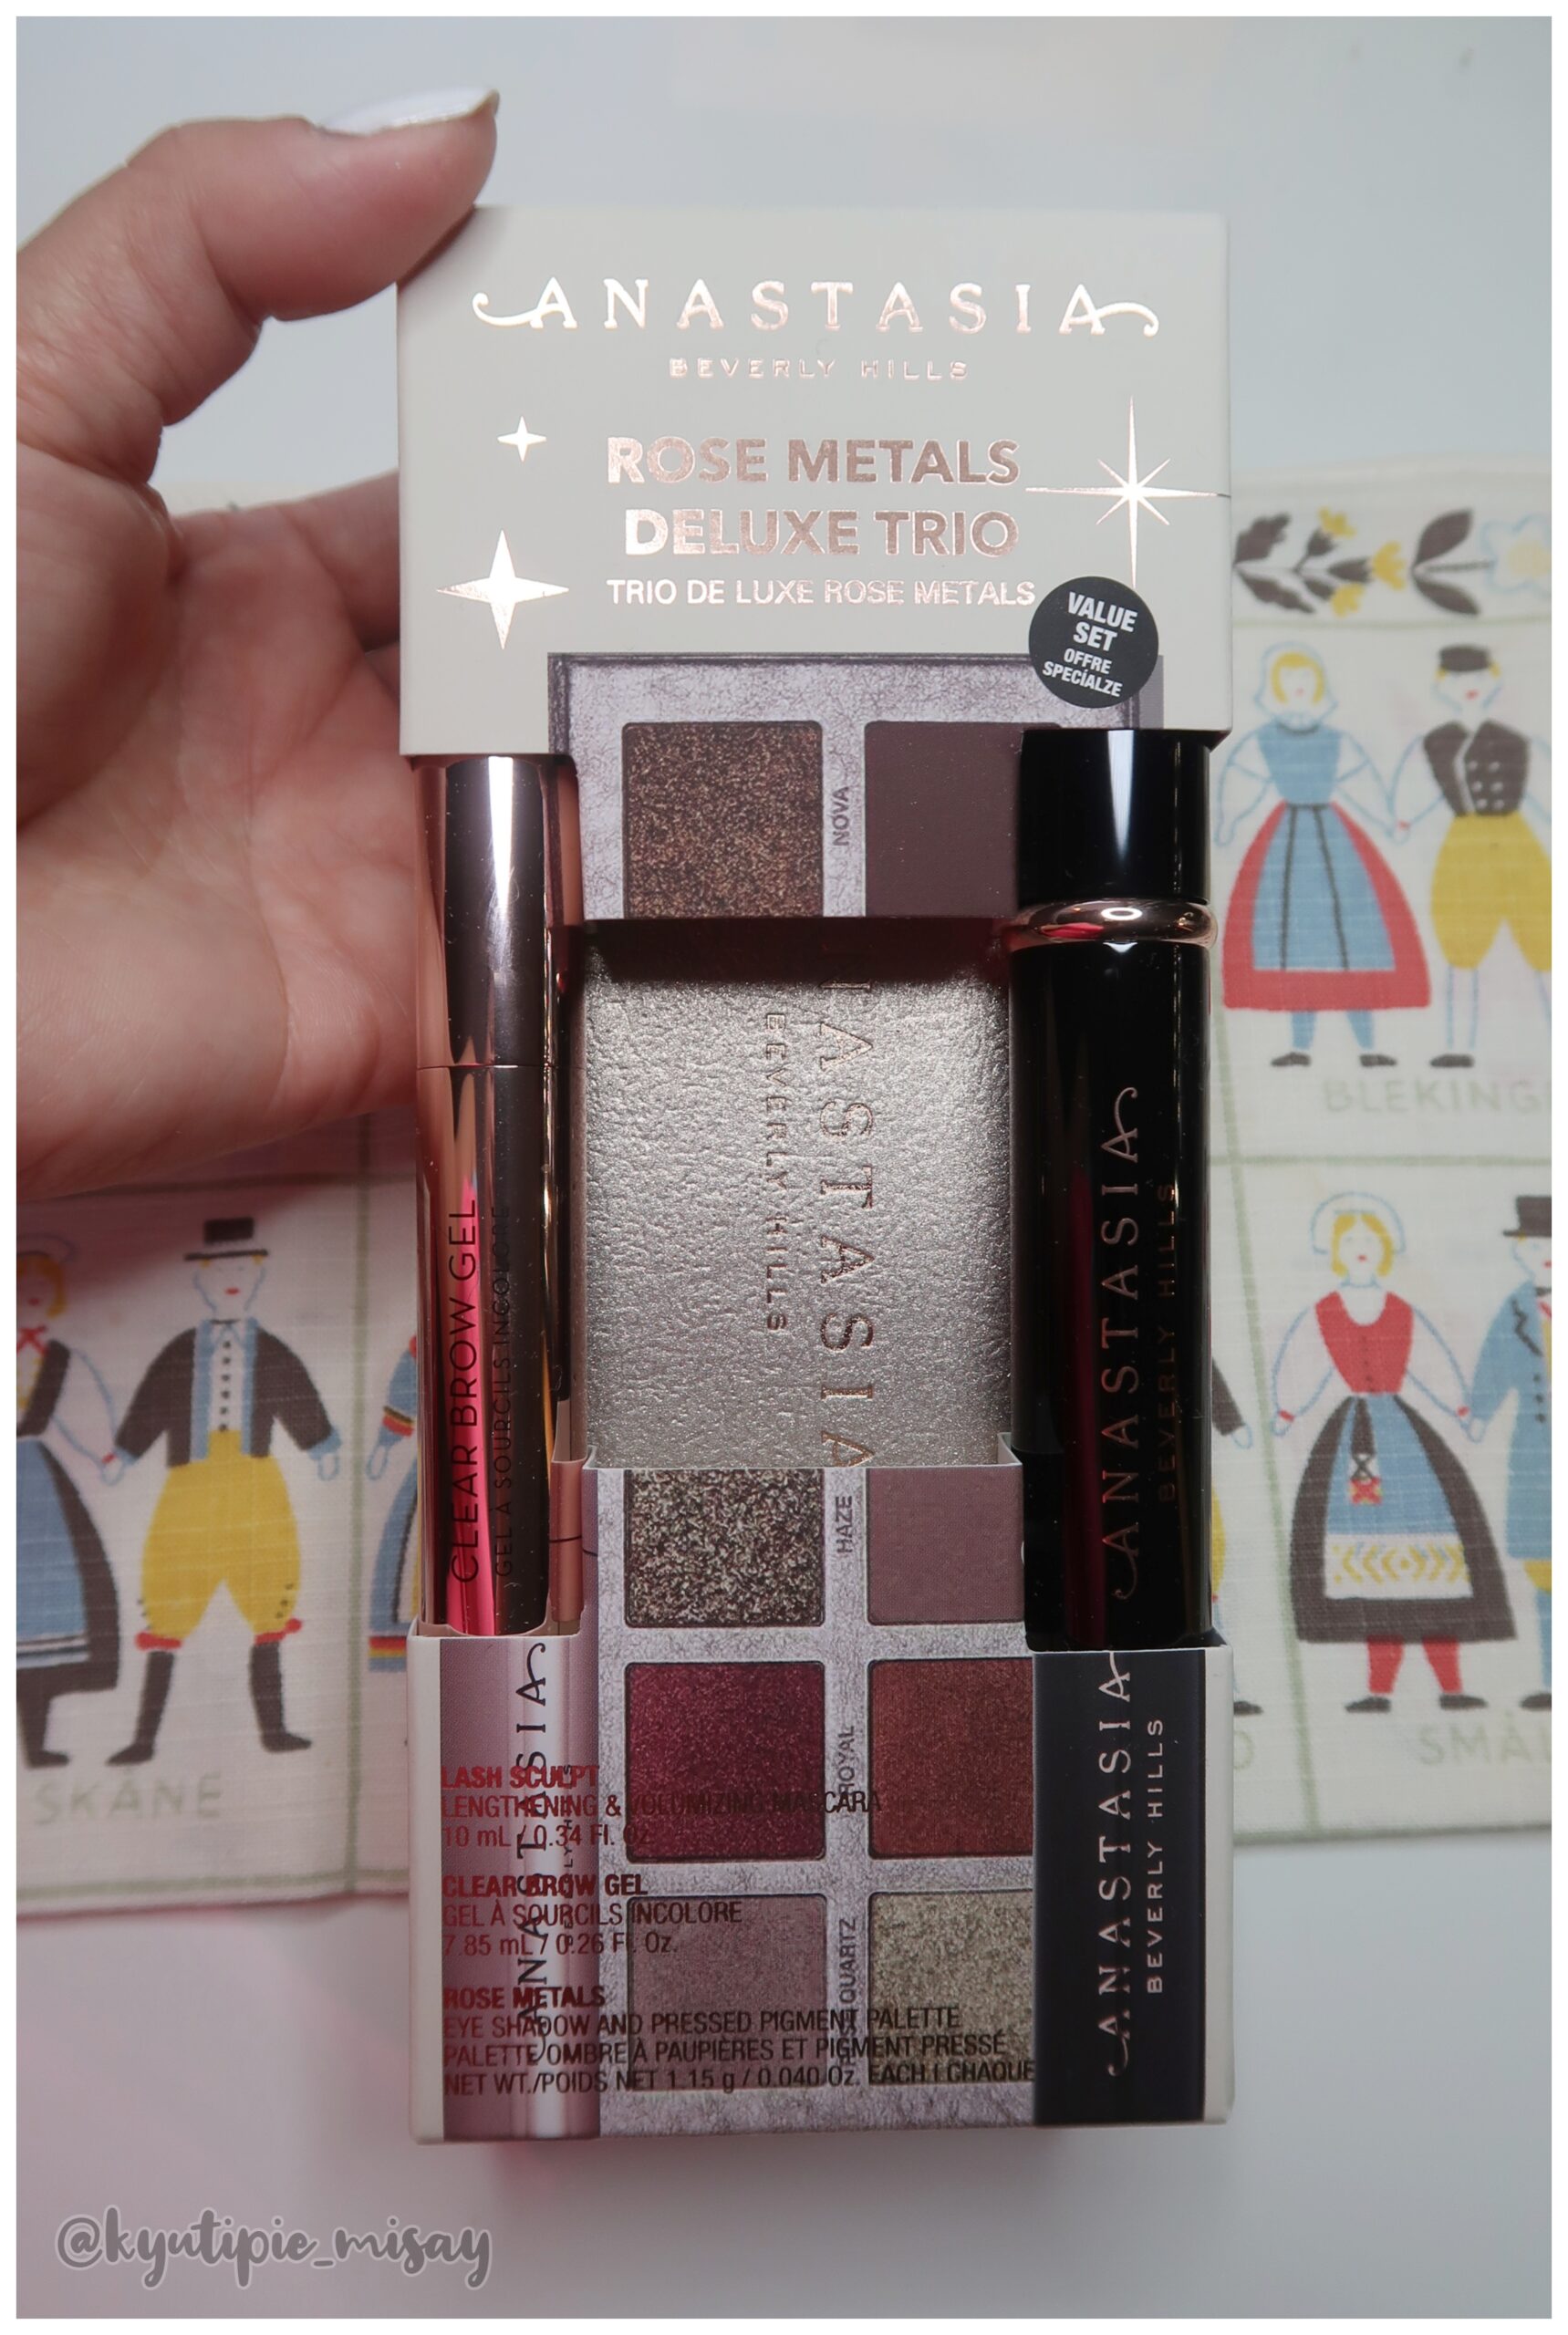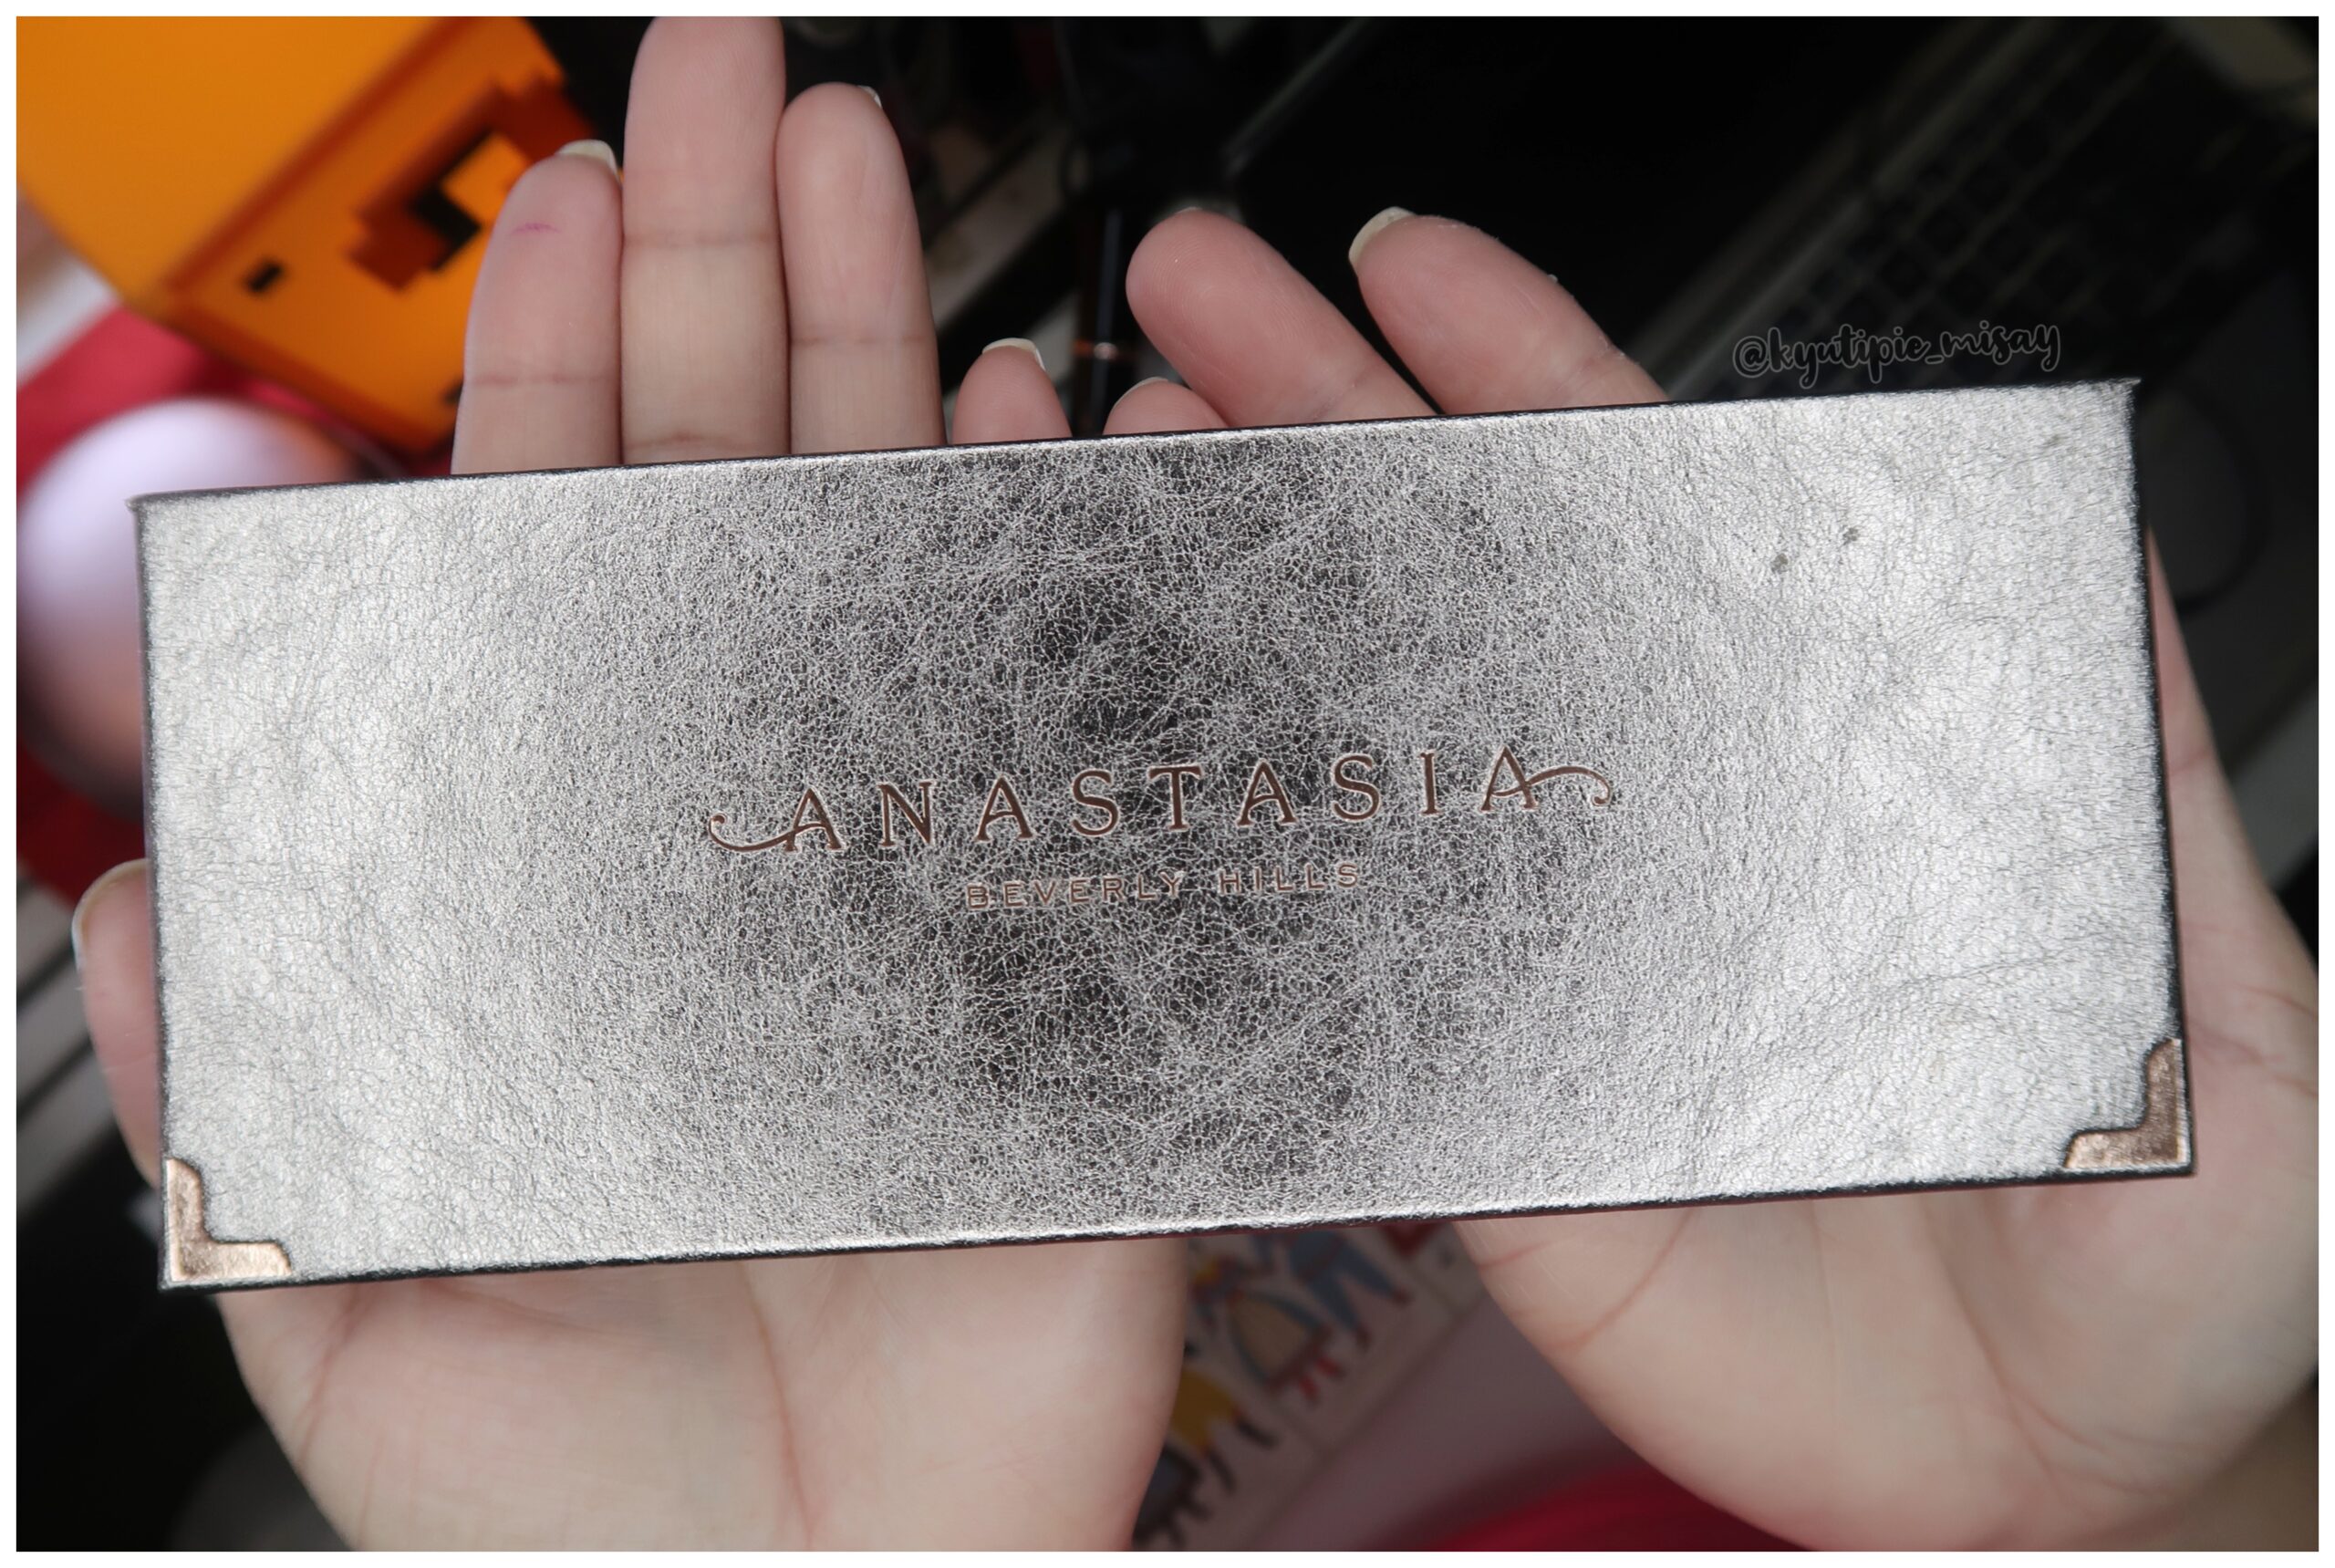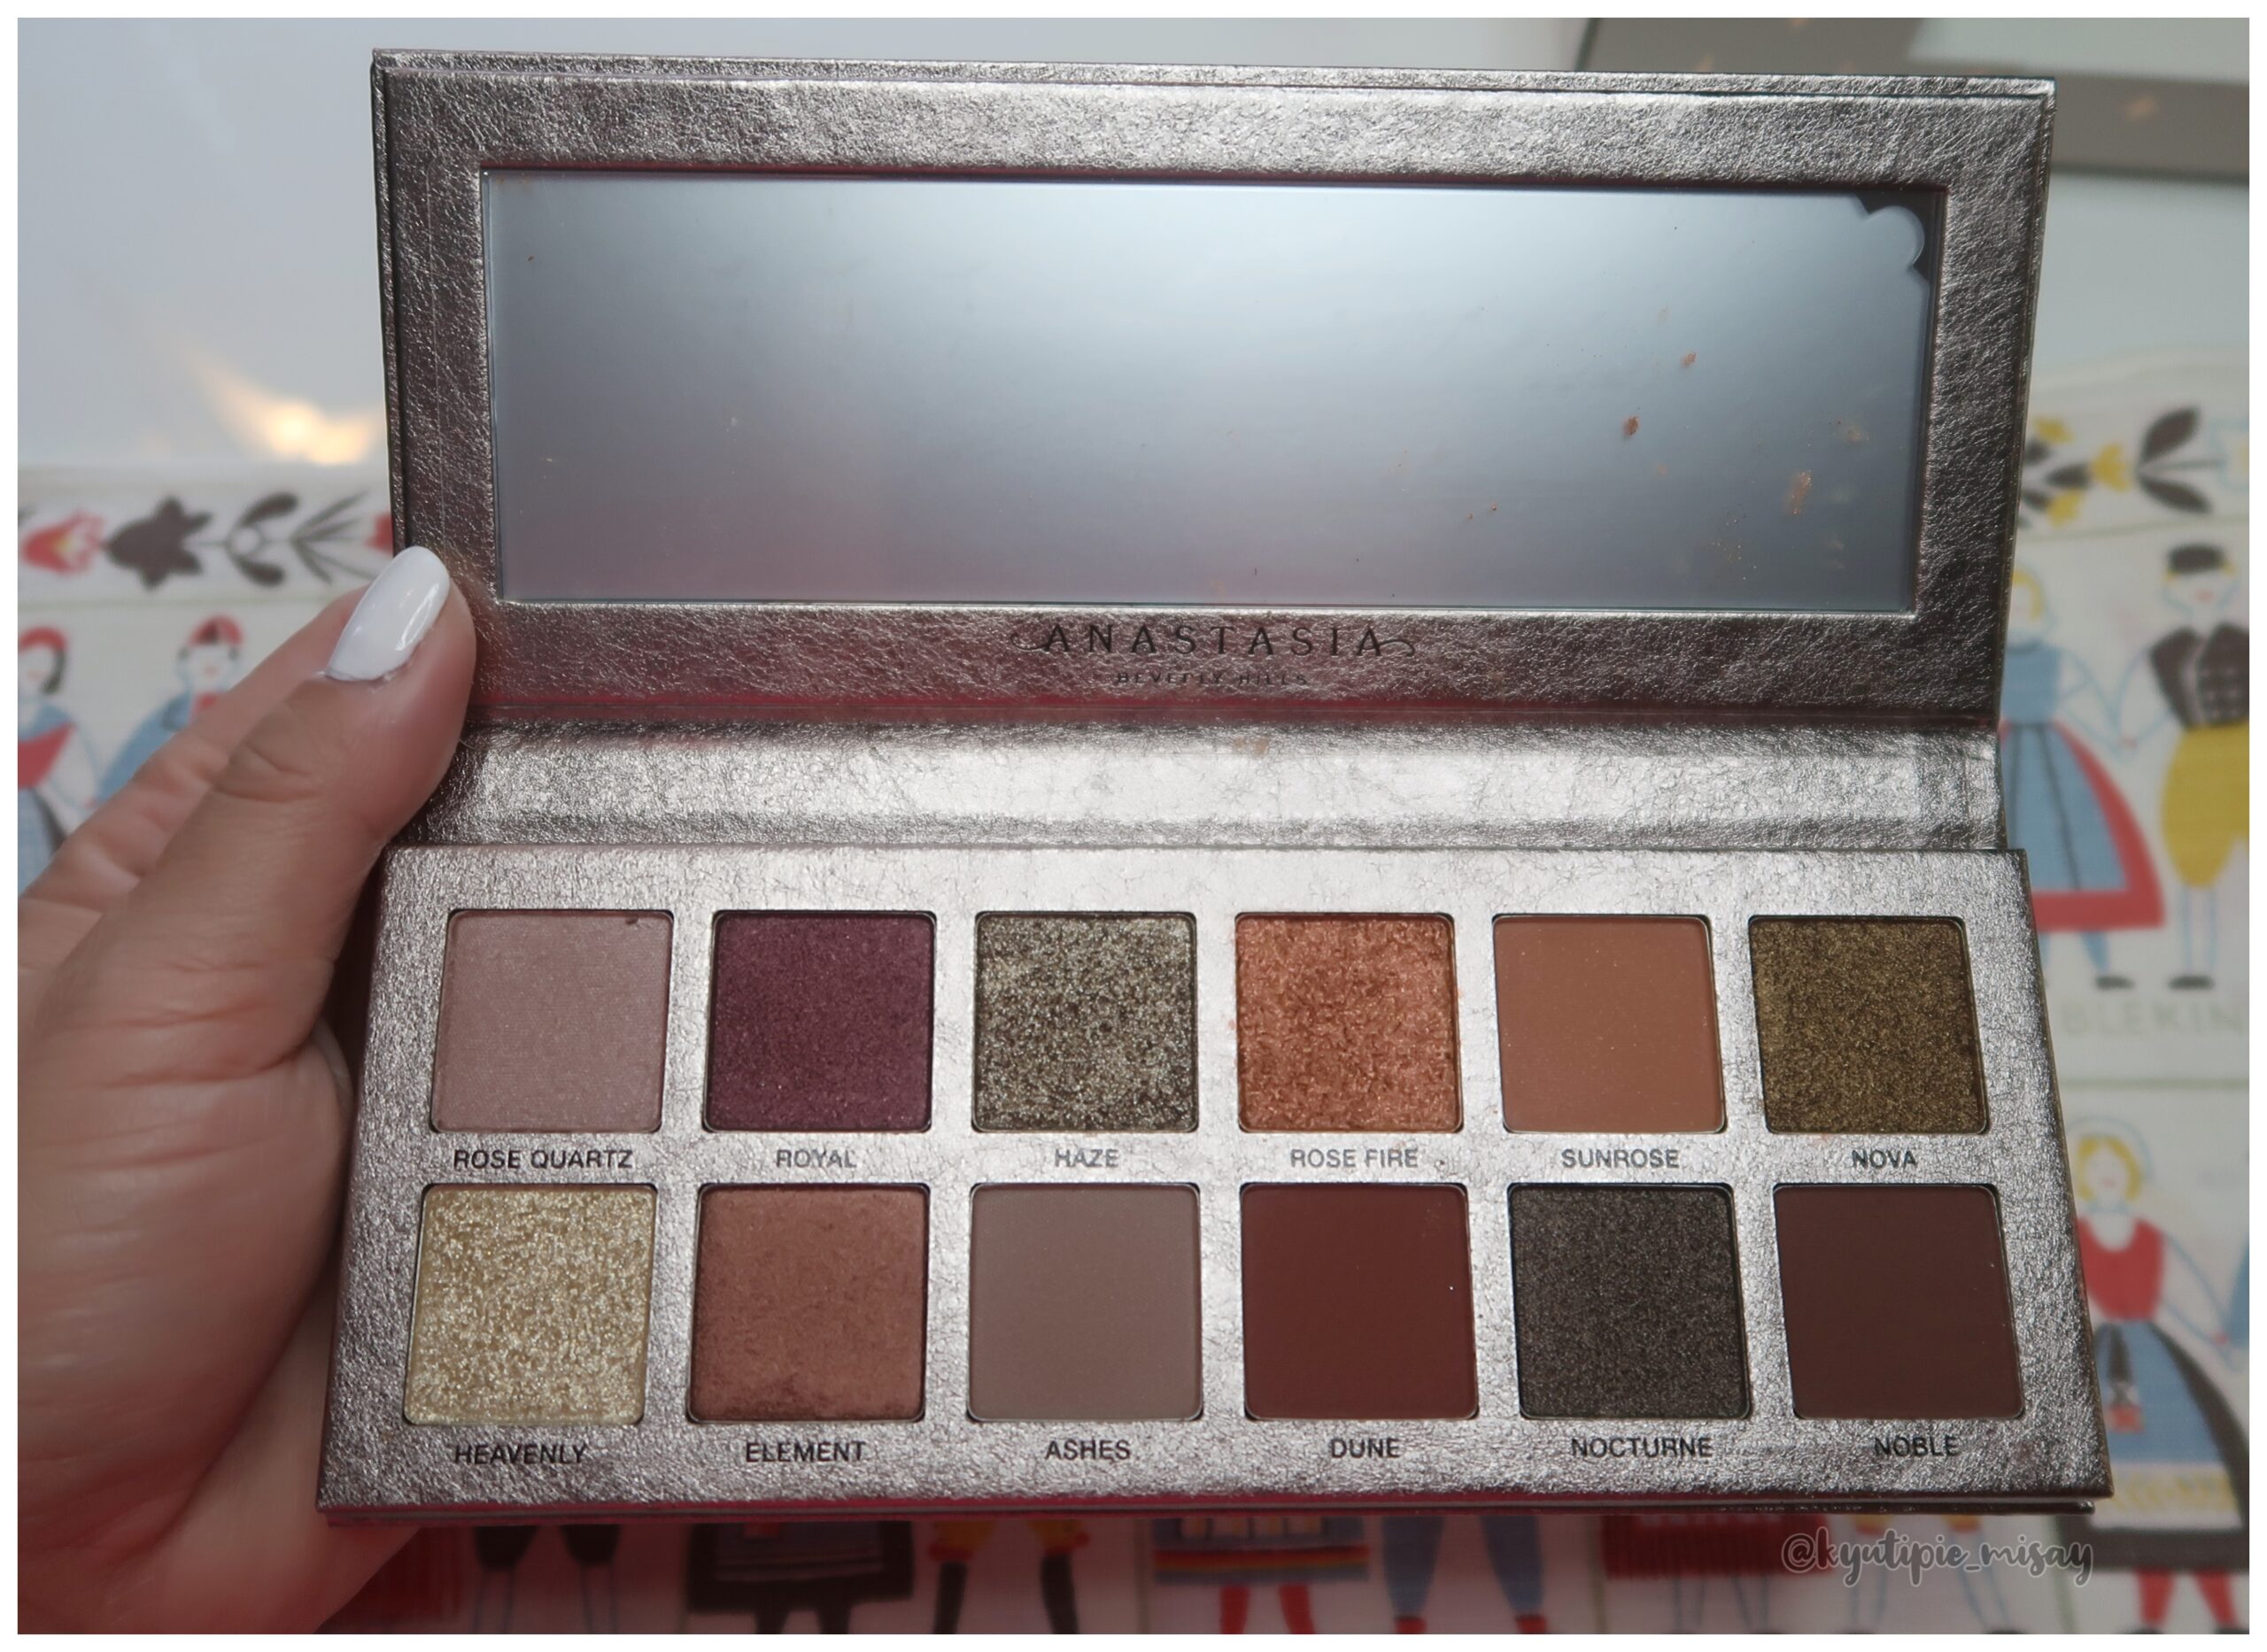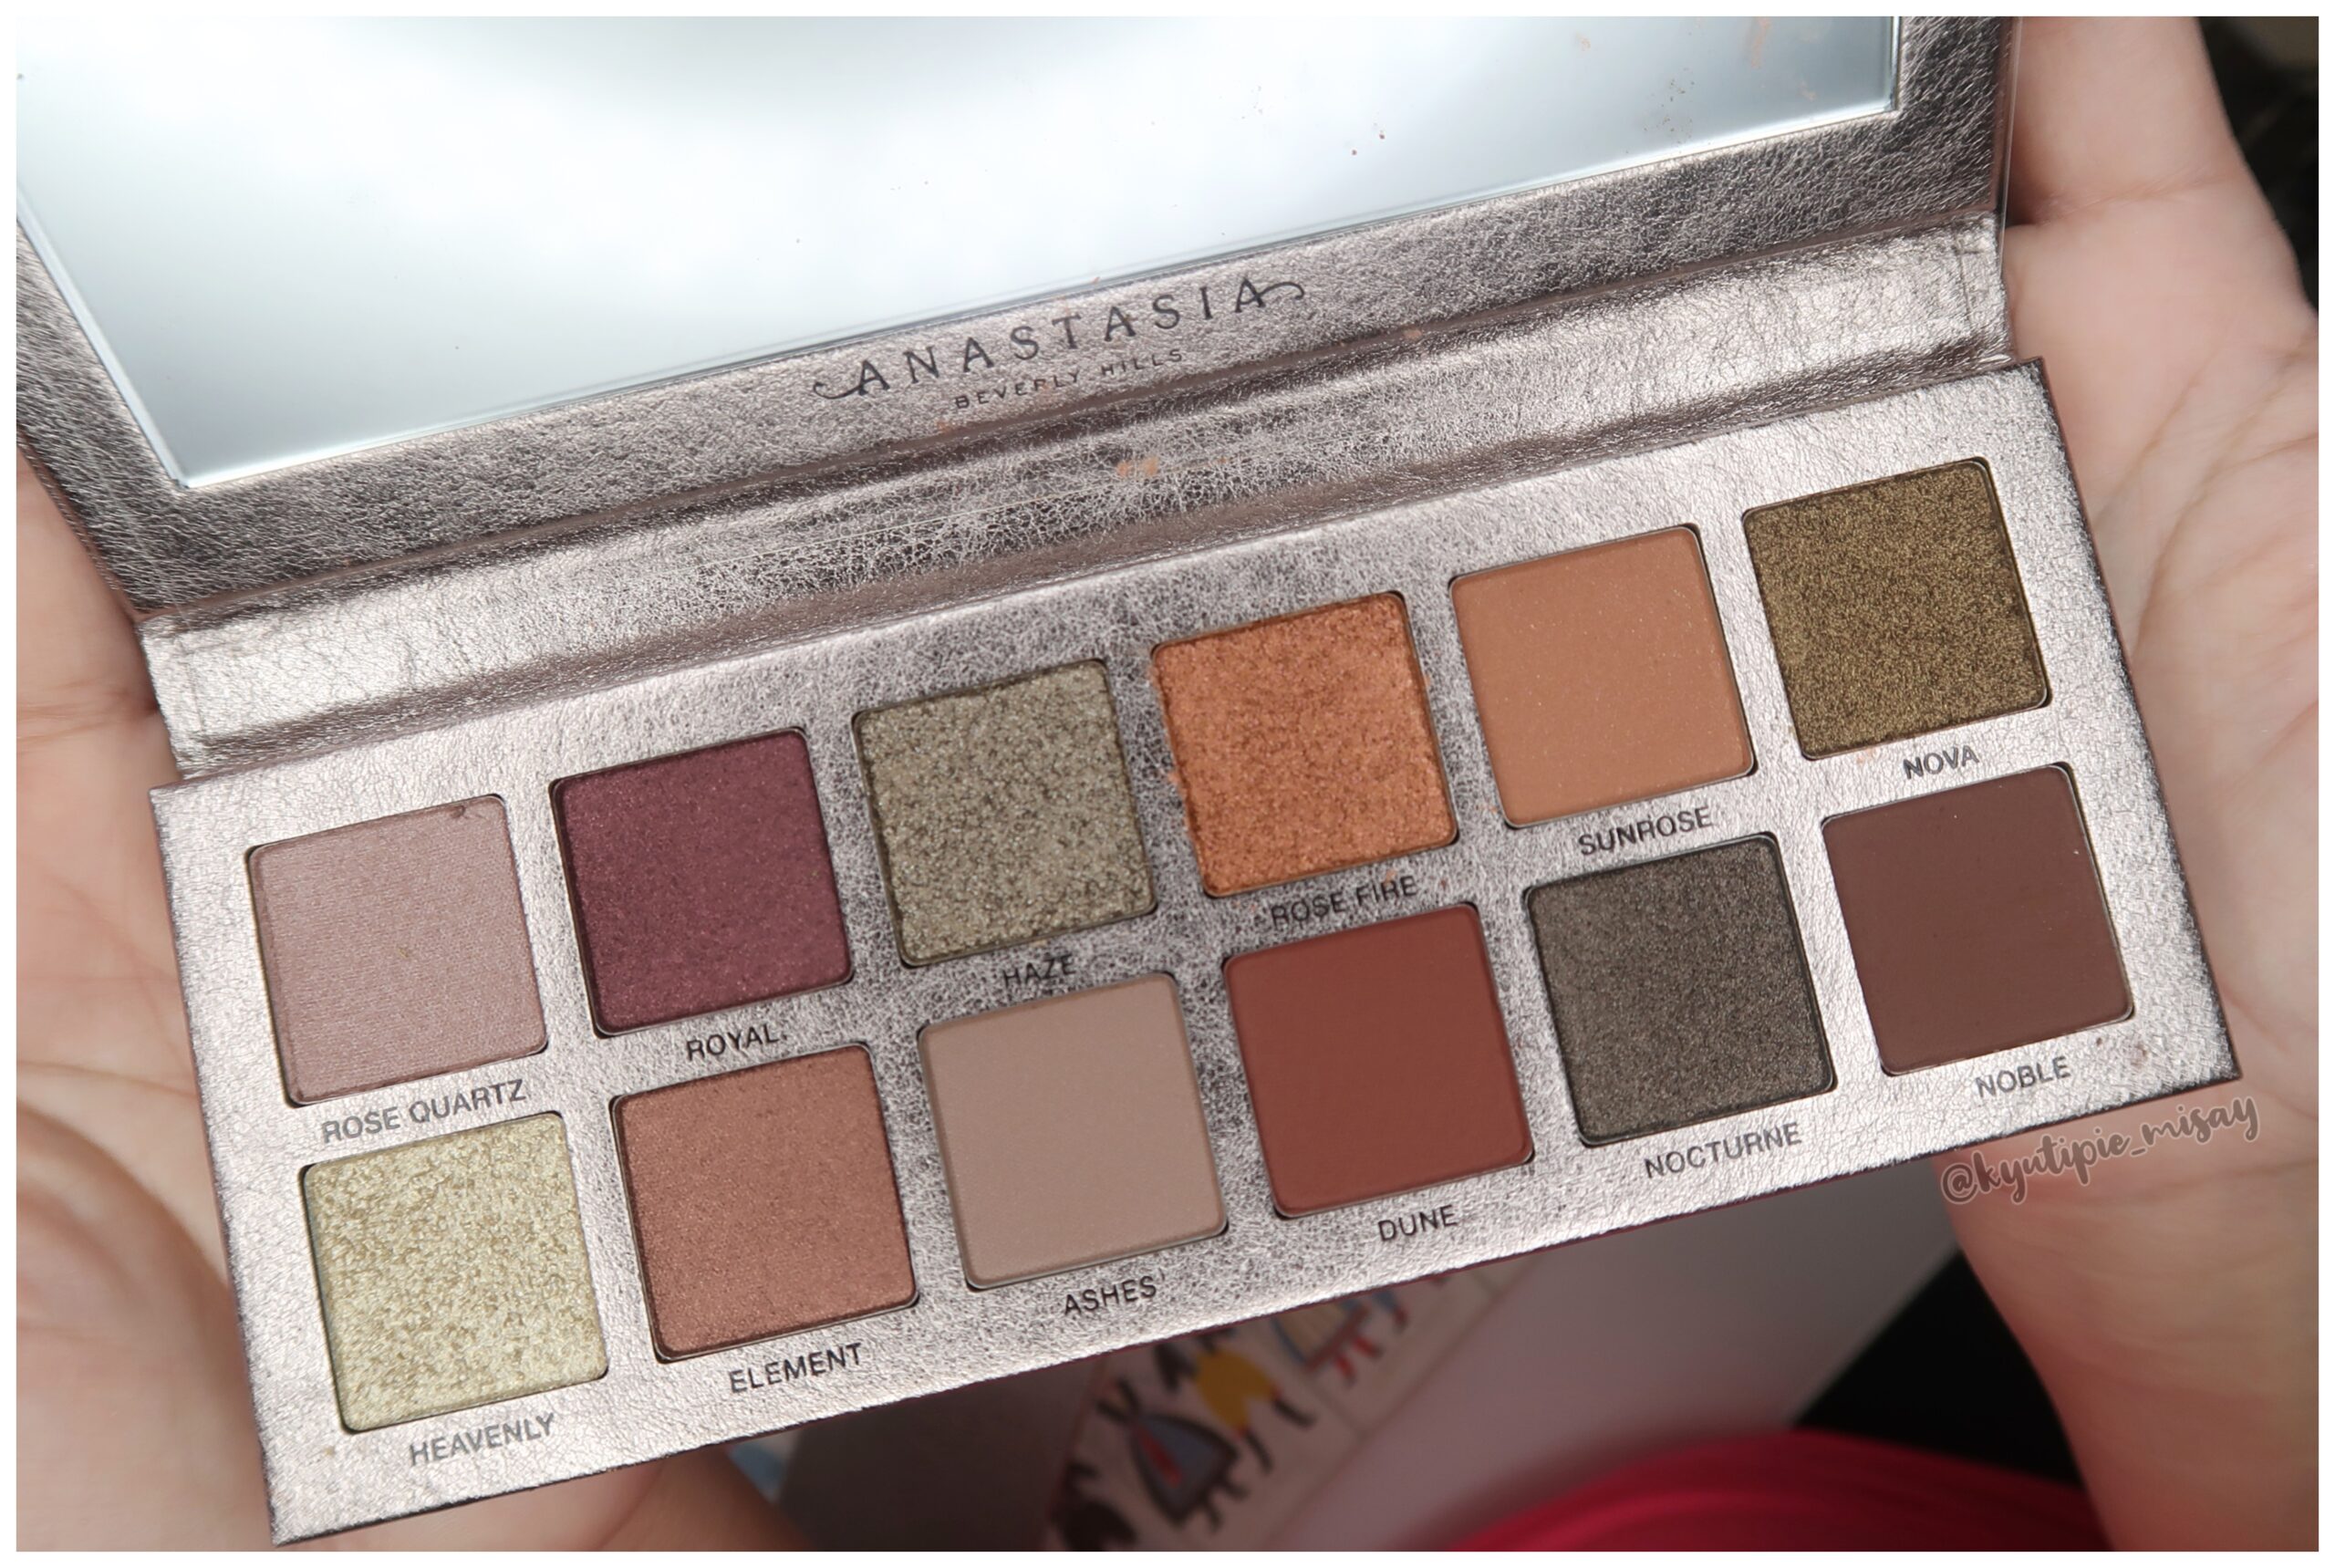


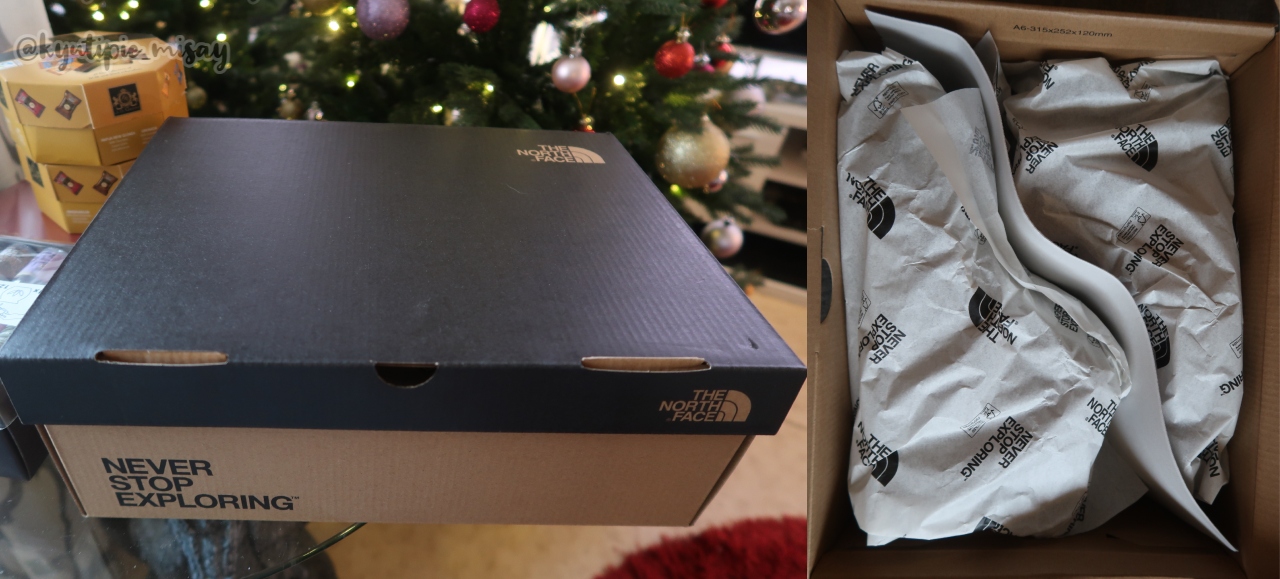
I’m so happy that I got these waterproof winter shoes from my Panget. This one is kind of a surprise gift from him last Christmas and it came a bit late and I didn’t expect him to buy me this one because I already requested the Anastasia make-up palette for my Christmas gift. Actually I really need this one as I don’t have any winter shoes as of the moment ( I mean waterproof shoes ). I only use my hunter rubber boots whenever me and my husband walk outside but those boots are not good for snowy weather as it doesn’t have any inner lining to protect your feet from cold. So let’s see this beauty shall we?.

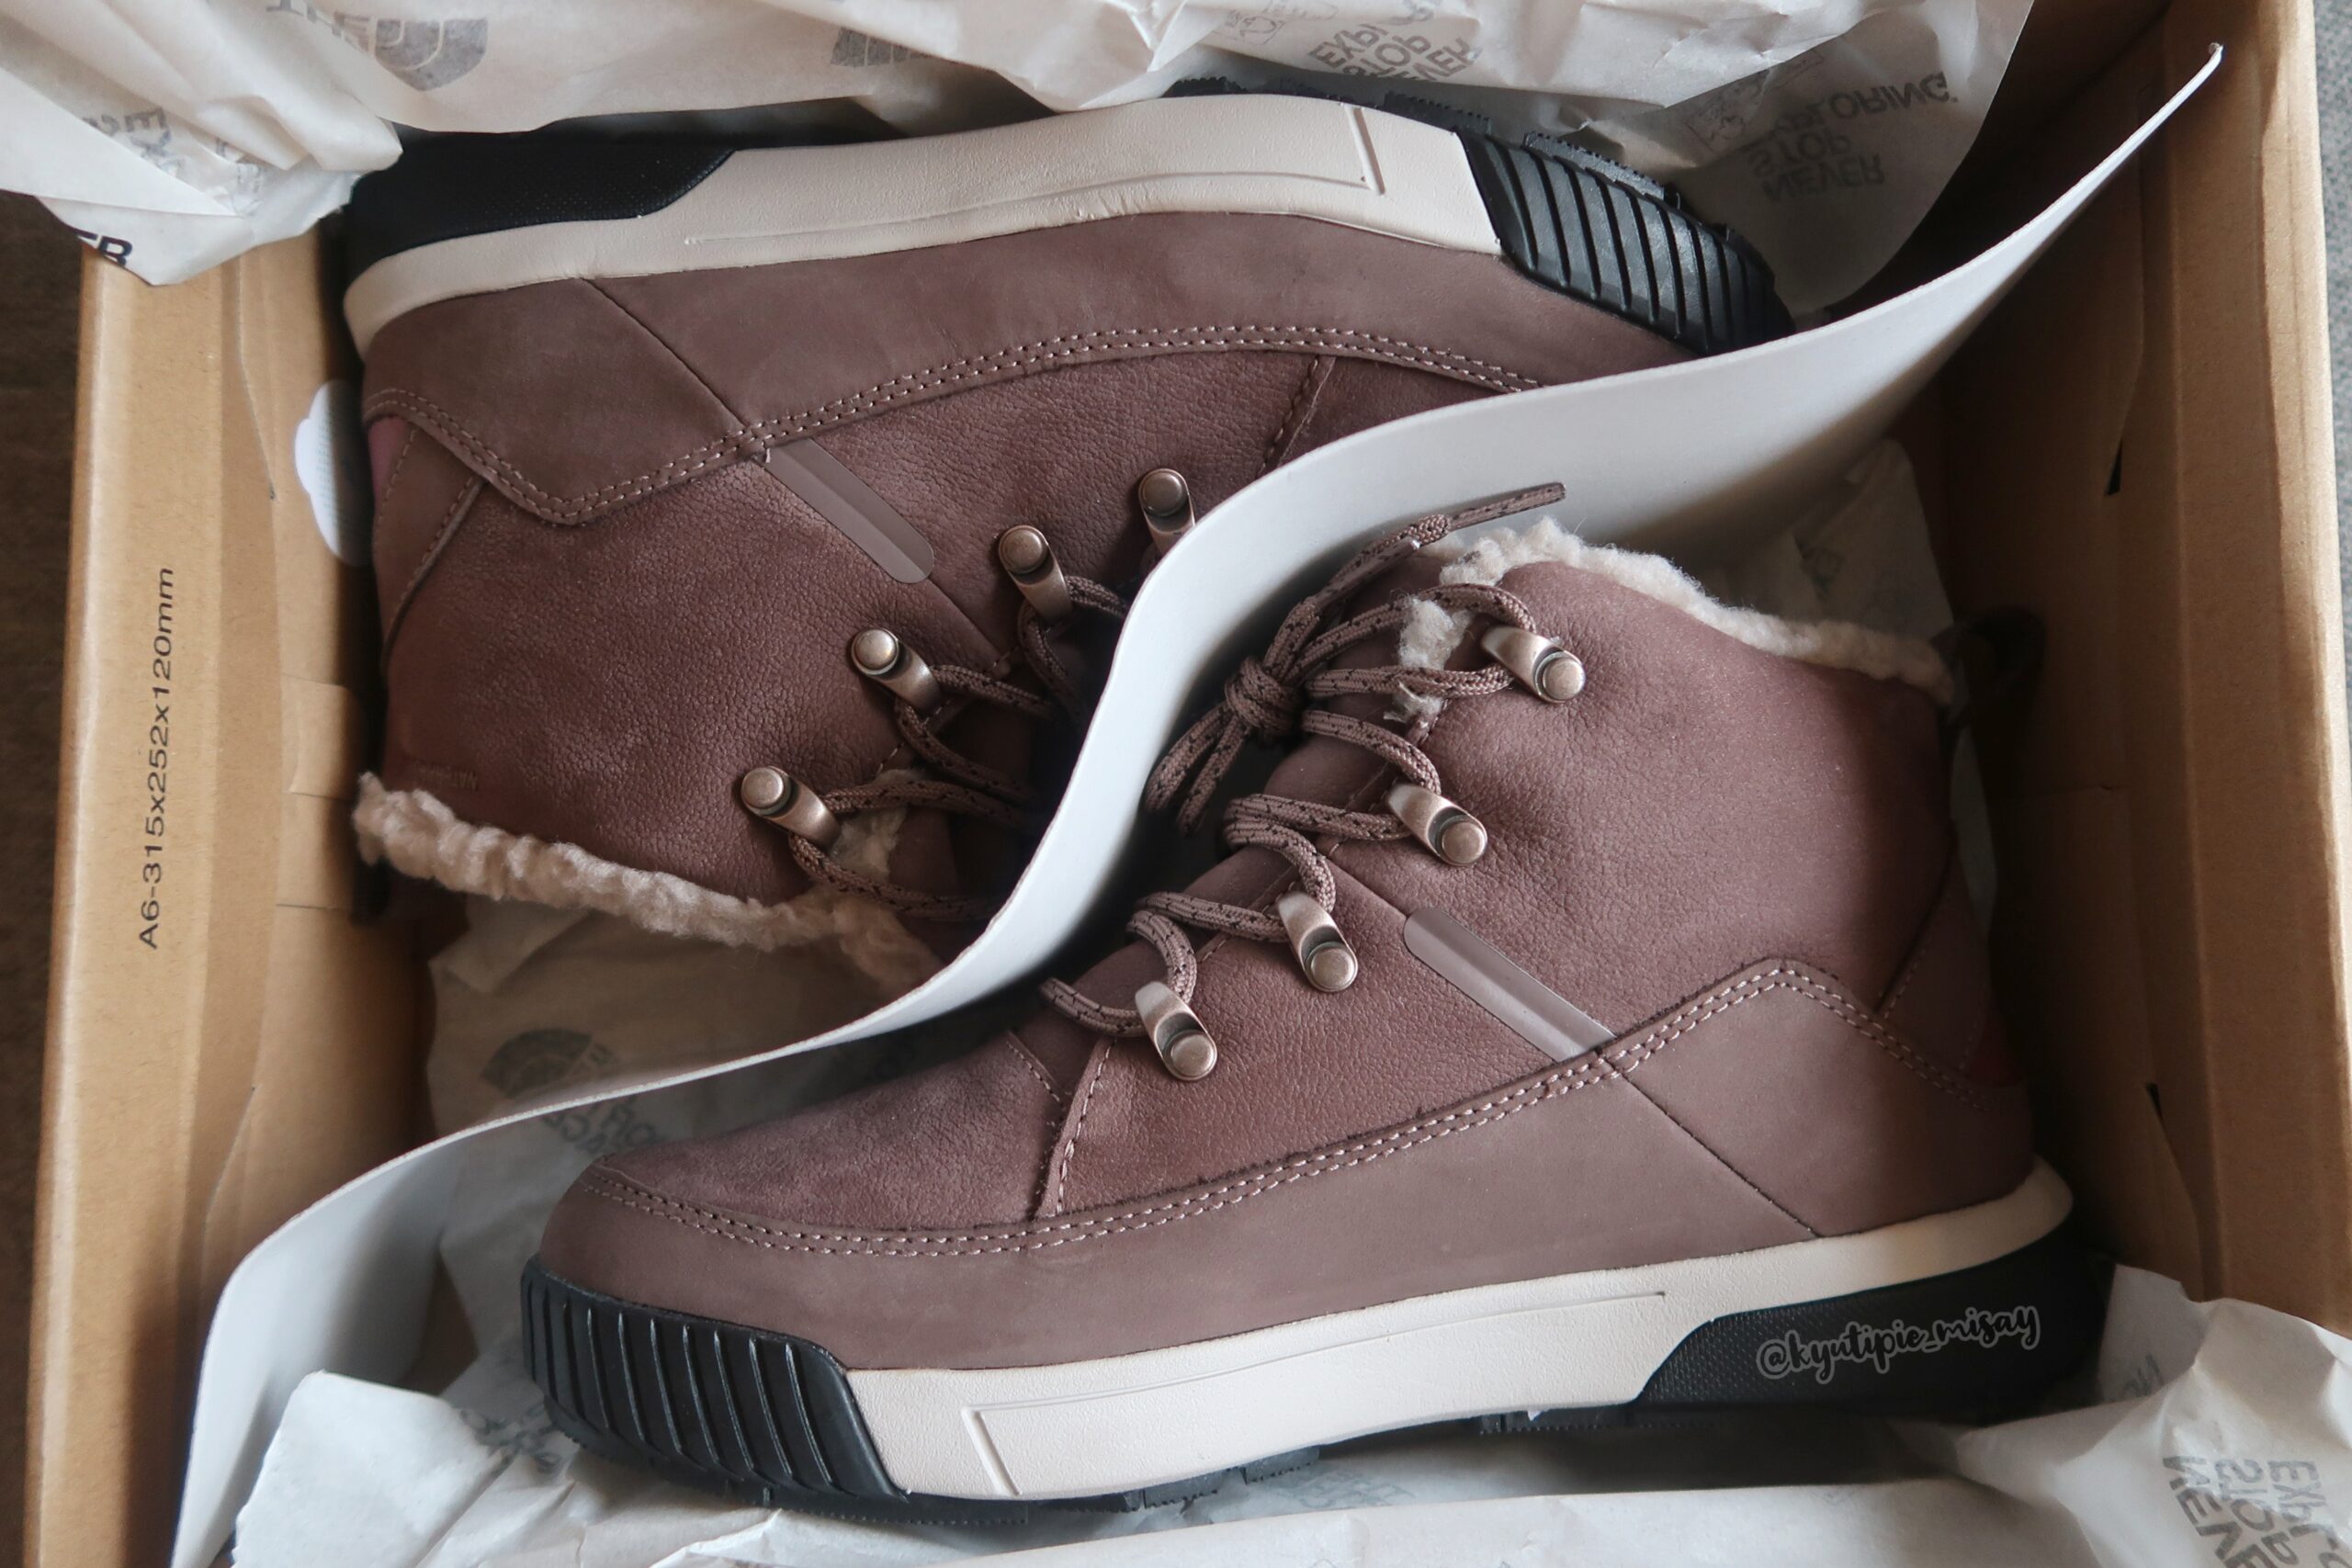
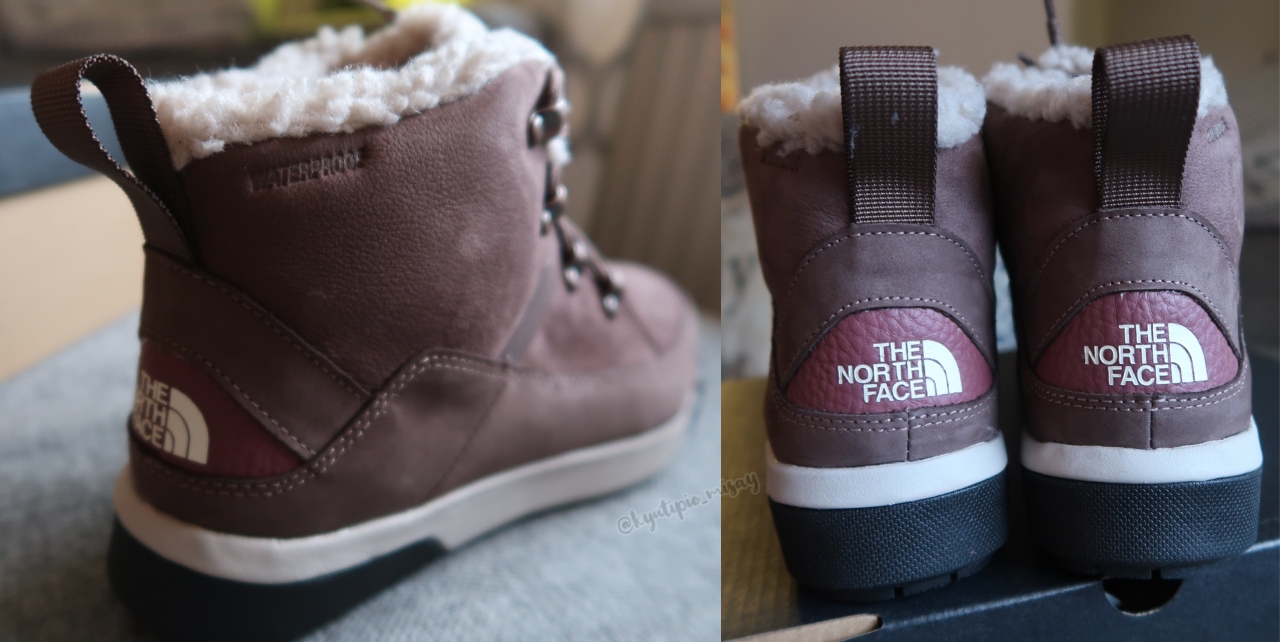
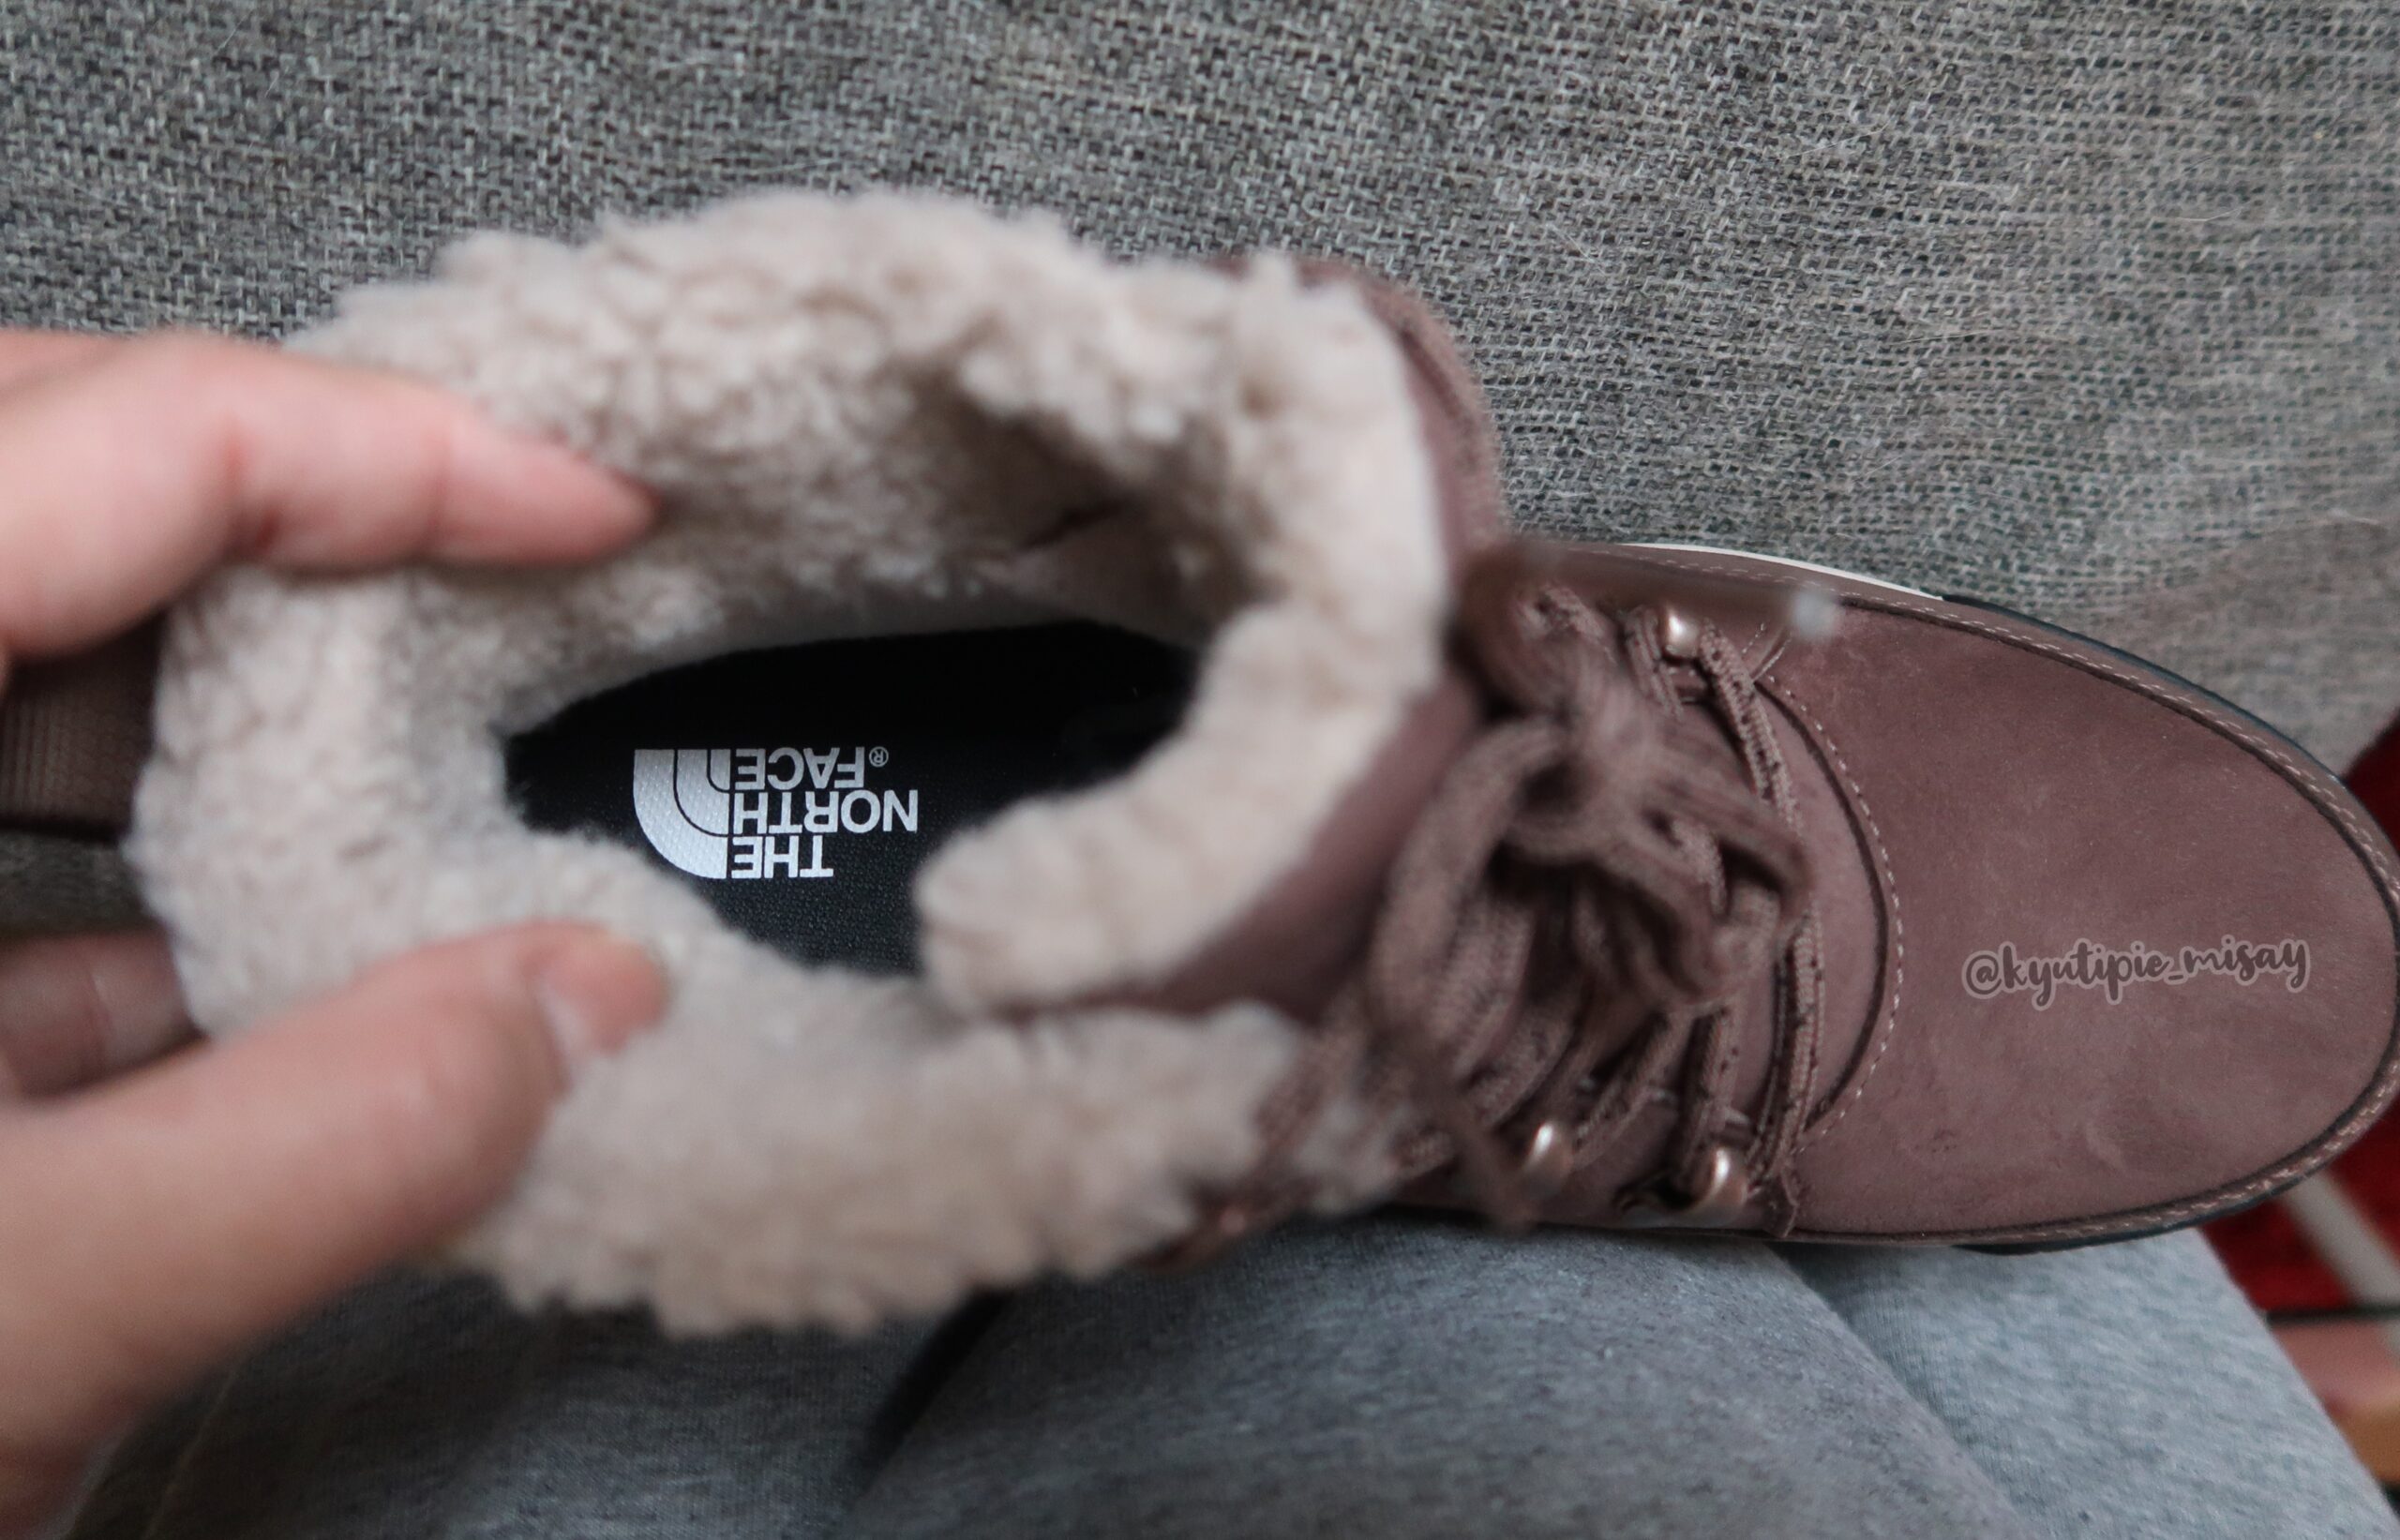
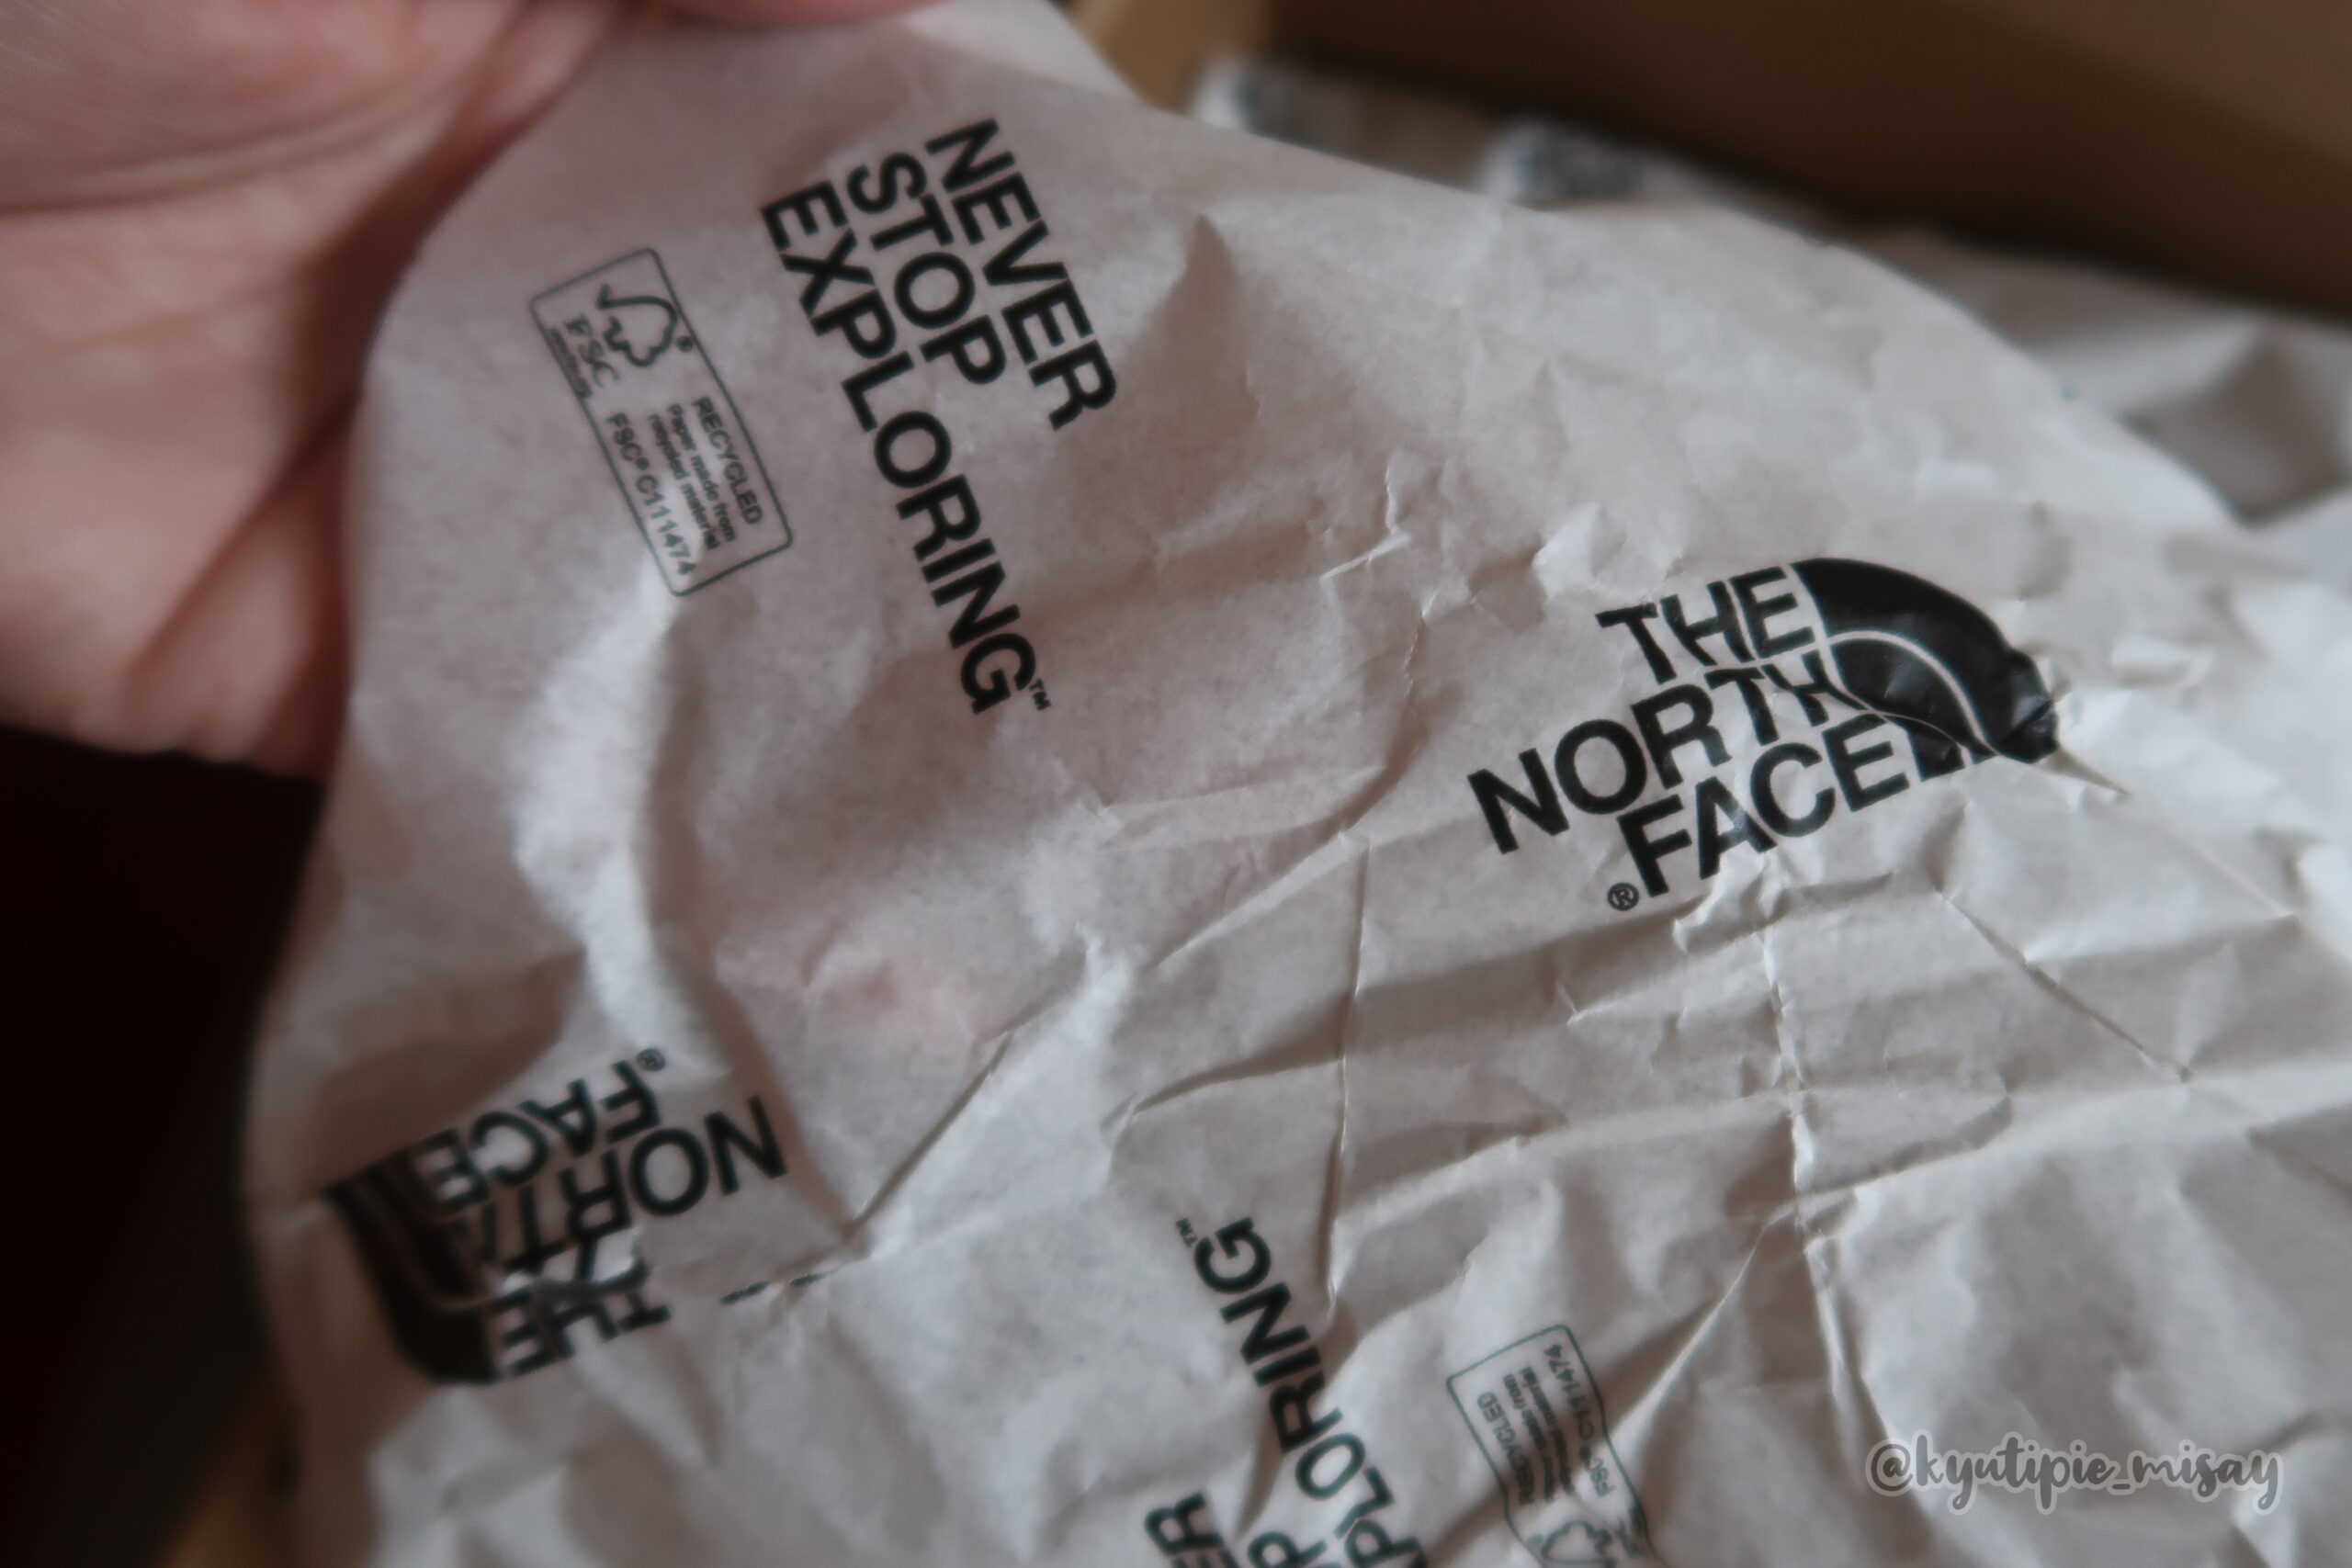
So here is it! I got the THE NORTH FACE SIERRA WATERPROOF STREET BOOTS in DEEP TAUPE/WILD GINGER – A lightweight, waterproof and insulated, the retro-styled Sierra Boots combine robust leather with a stretchy rib knit to balance functionality and comfort. And the grippy rubber soles are optimized for winter walking.
Discover more about The North Face Sierra Boots and other TNF products:
https://www.thenorthface.se/womens-sierra-boots
DETAILS:
Style: 4T3X
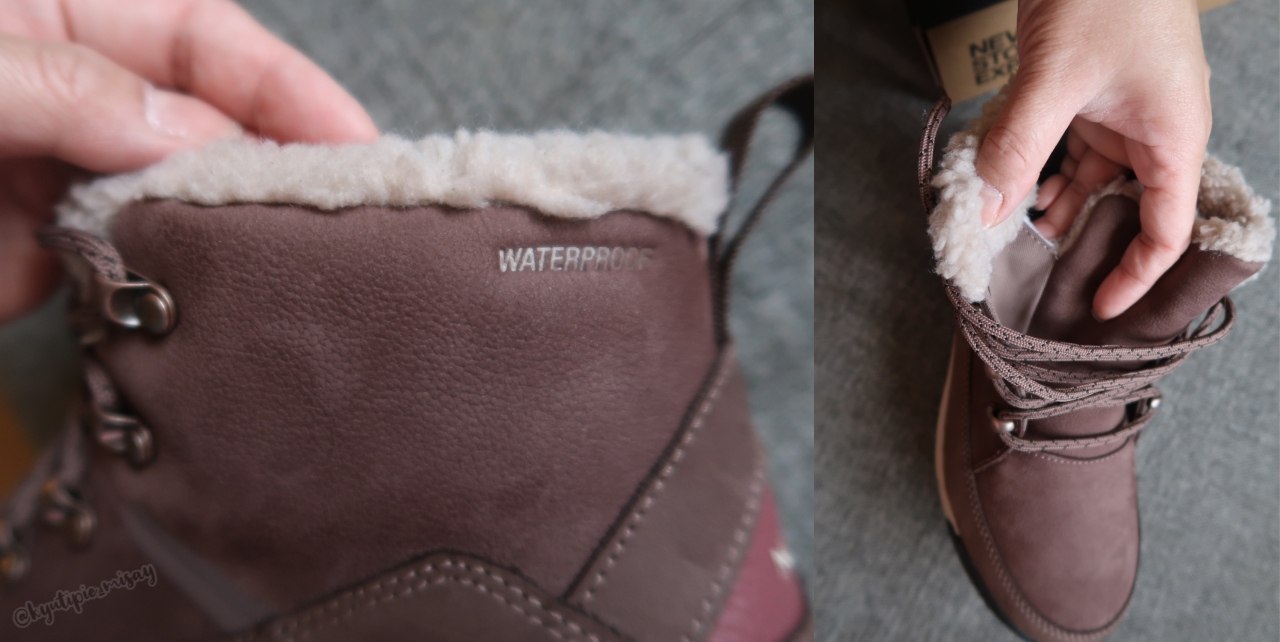
Upper : Waterproof, Full-Grain Leather
Sole Unit : Single-Density, Moulded-EVA Midsole
Sizes : Medium: 5-11
Approx Weight : ½ Pair: 366 G / Pair: 732 G

I cannot afford to buy new shoes for myself right now and it’s not my priority as of the moment as I don’t like to go out and walk when it’s snowing hahaha maybe panget wants me to go out even more and walk with him that’s why he gave me these boots. Honestly the North Face brand is a bit expensive for me LOL but I know the quality is great and outstanding. I only have one TNF hiking sandals that I bought from loppis long time ago and I already gave it to my sister back home – I sent it on my balikbayan box hahaha. Anyway, I’m so thankful and I was so happy when I received it this is my first TNF boots that is brand new.
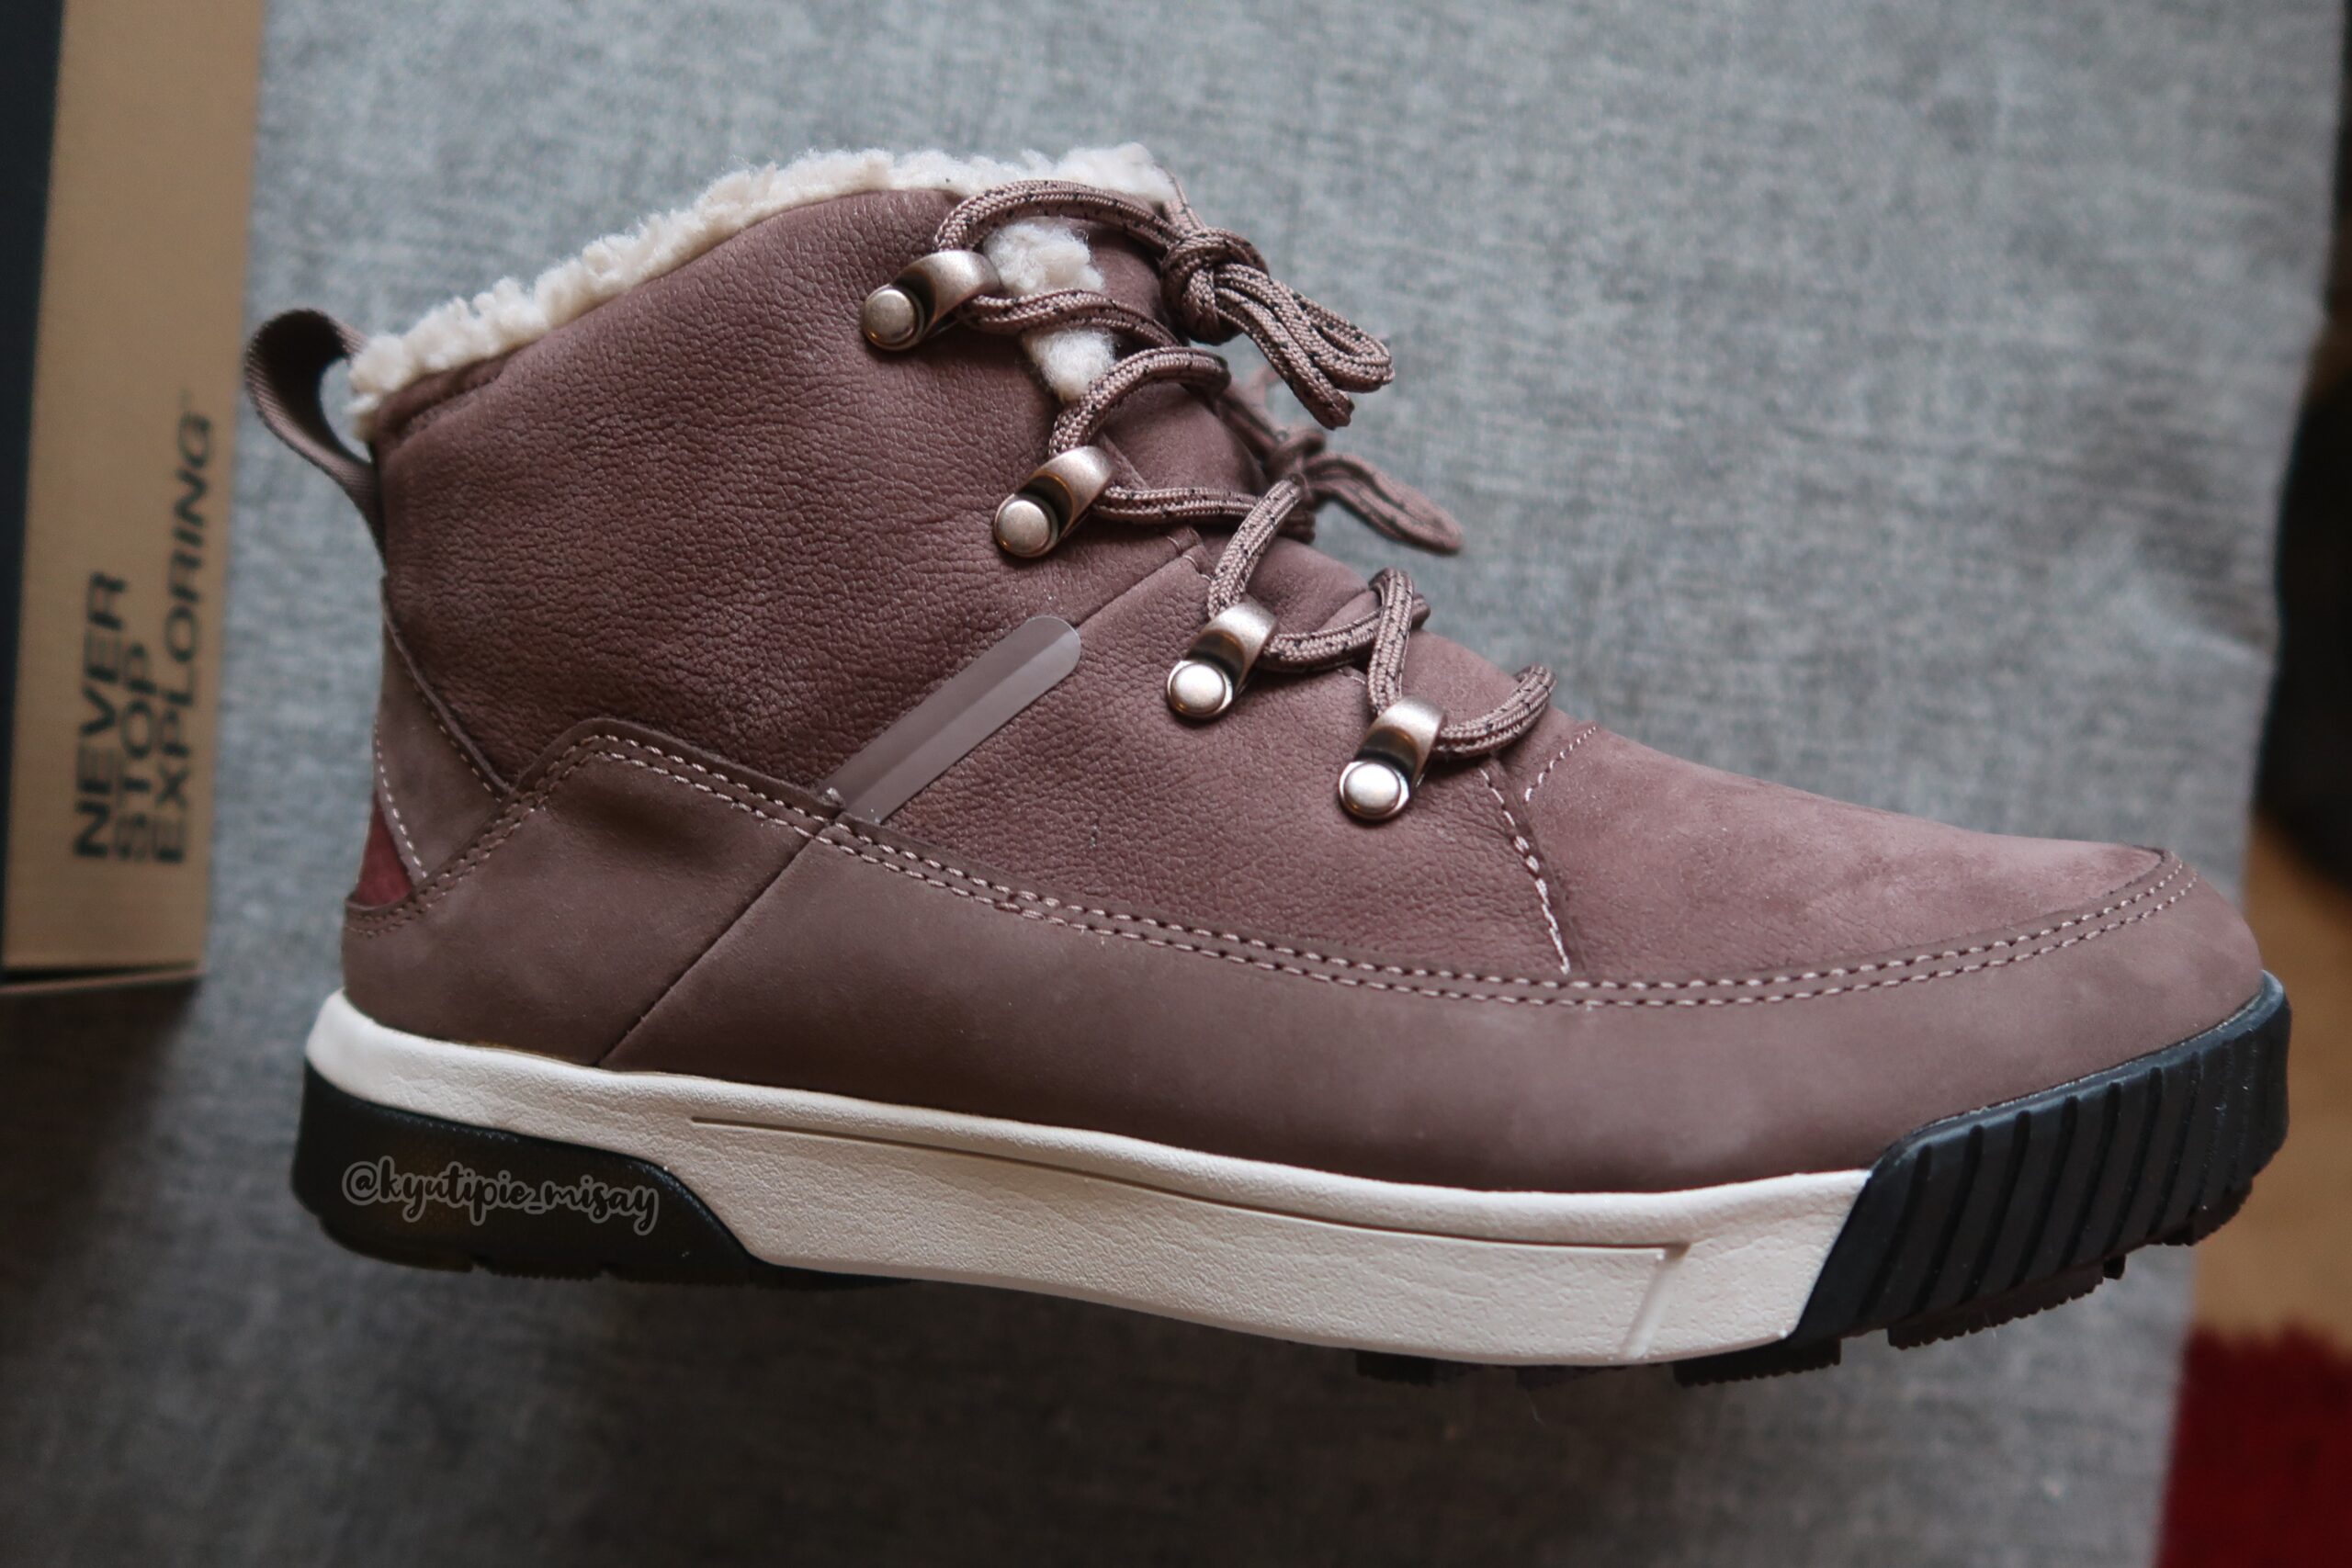
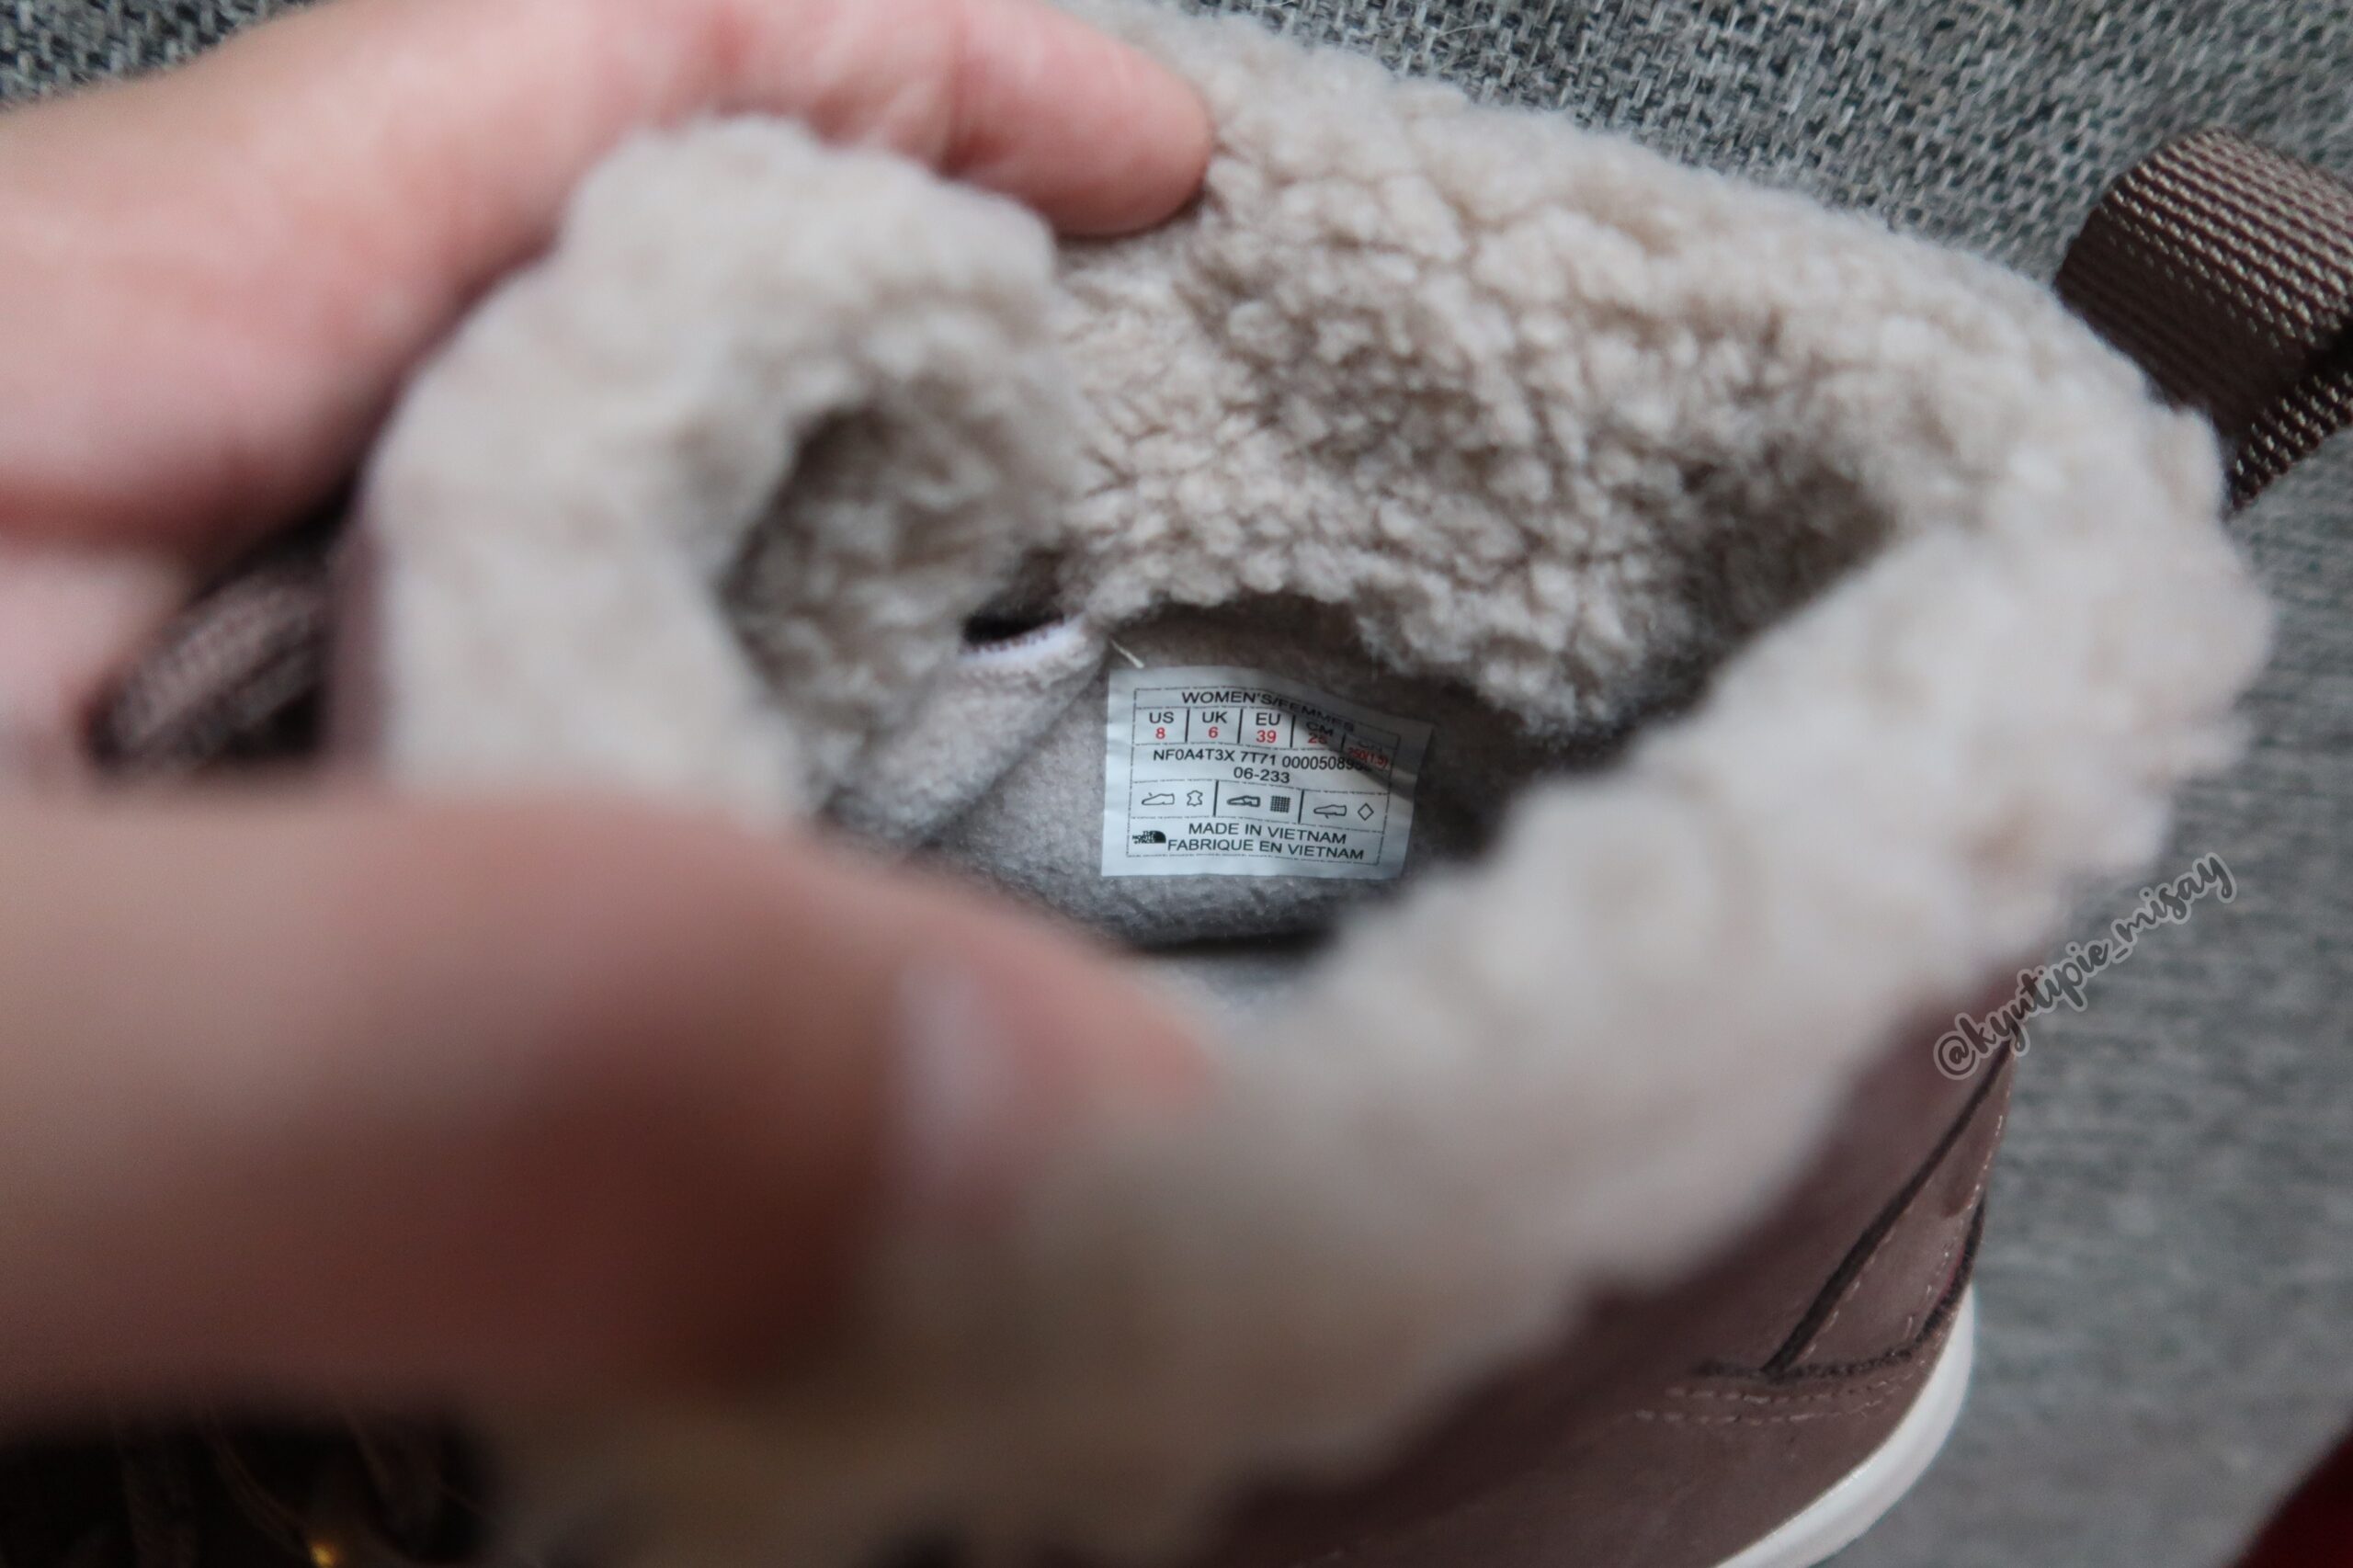
Love the shoes! very stylish, comfy and soft. Your feet really get warm, waterproof and perfect for wet winter season. My advice is to get one size bigger from your regular size as the shoes is really small. Mine is 38 on my normal size, so my husband thought 38.5 would be fine on me so he bought 38.5 but then I returned it!. LOL! Got 39 instead and it was perfect!. When I first got it and fit it out, I knew right away that the shoes is smaller on me not to mention I only wear regular socks that time so what more if I wear a thicker one so I decided to return it back and ordered the 39 instead. 🙂
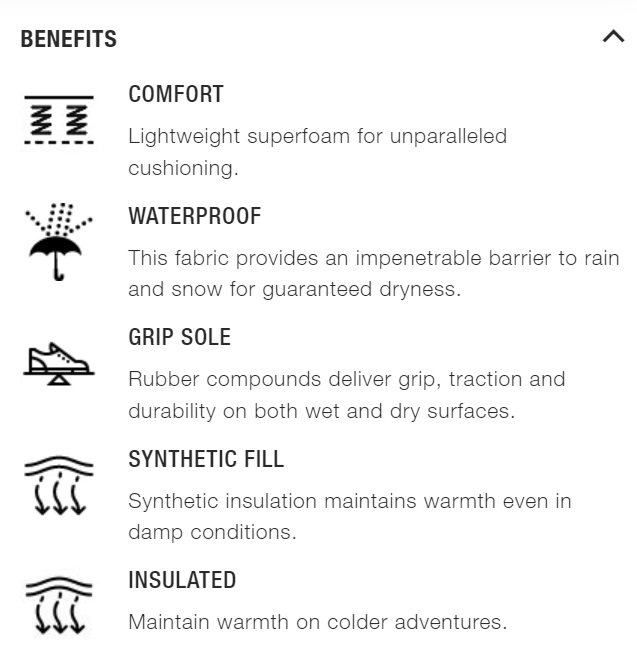
FEATURES:
UPPER: Waterproof, full-grain leather
Waterproof, seam-sealed construction
INSIDE : 100 g 100% recycled synthetic insulation
Rustproof metal hardware
Minimalist faux-fur top collar
OrthoLite® sockliner
SOLE UNIT: Single-density, molded-EVA midsole
Rubber wrap in the toe for additional durability and protection
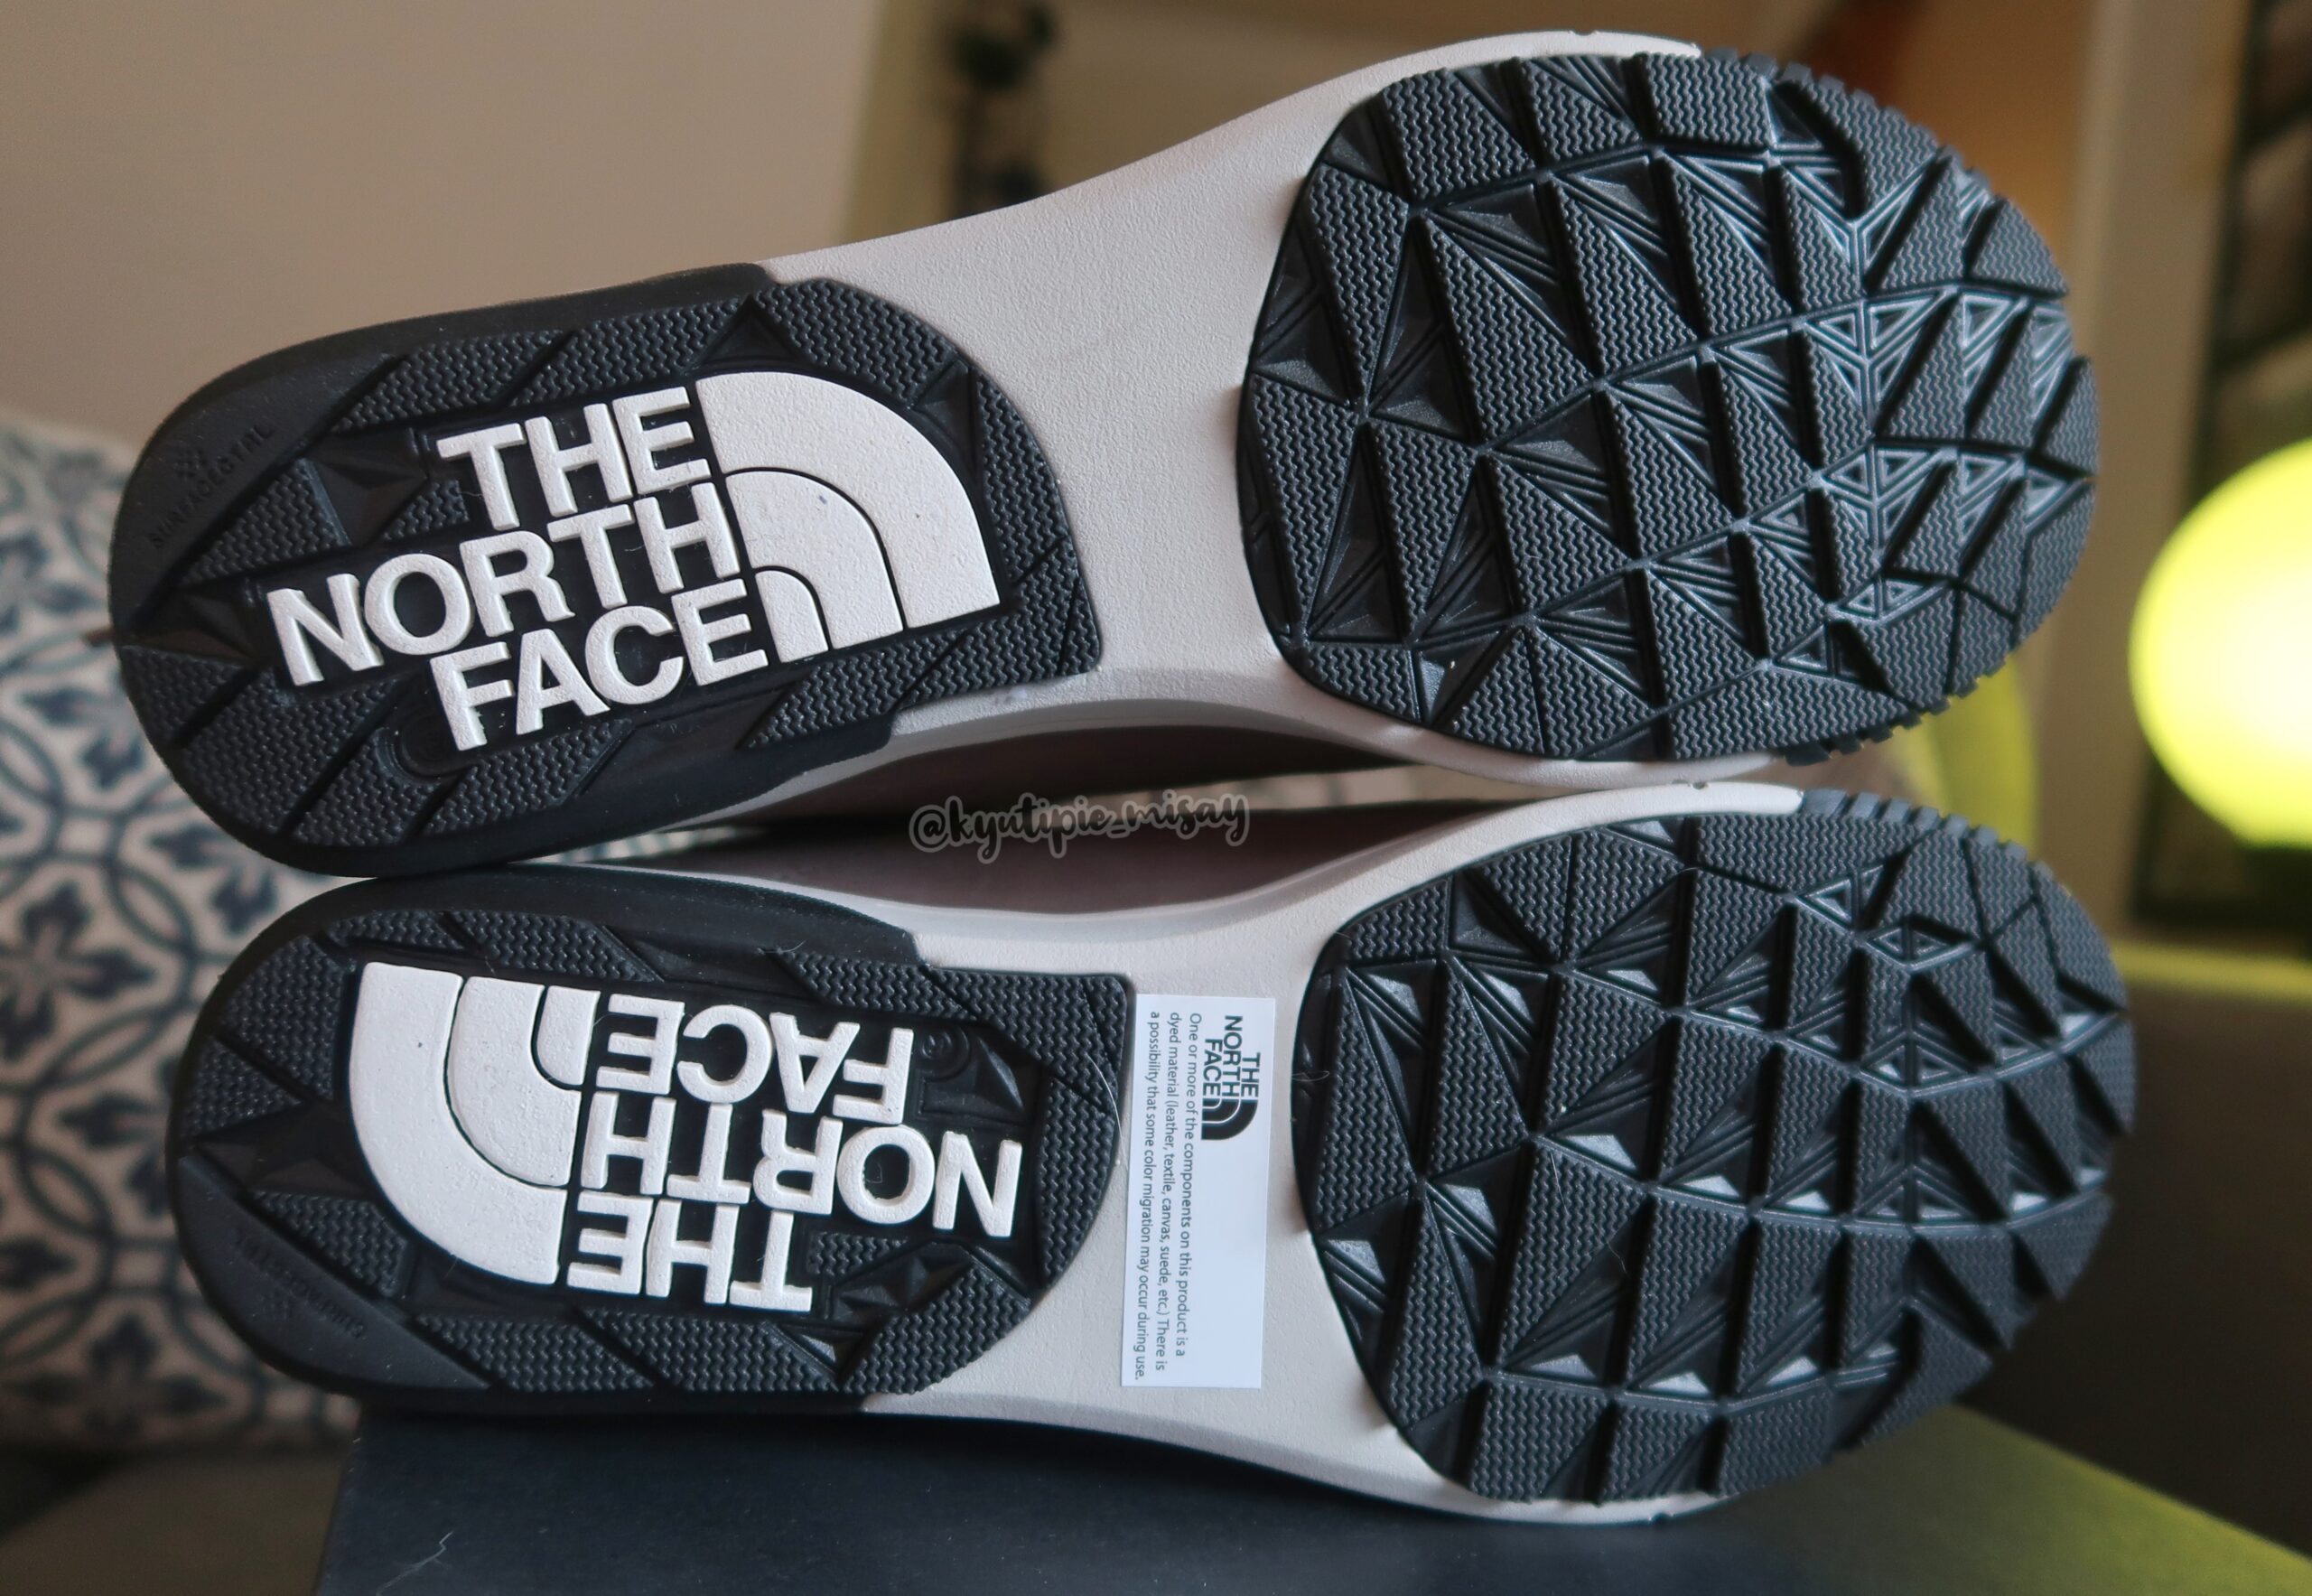
Surface Control™ rubber outsole optimised for winter conditions
TECHNOLOGY
Ortholite® – OrthoLite® foam footbeds are lightweight and breathable, and feature built-in moisture management and antimicrobial action.
Surface CTRL®- This bio-based outsole rubber compound provides superior traction and durability.
NOTE: Go 1/2 a size up: Choose 1/2 a size up from your usual size for a comfortable and secure fit.

View this post on Instagram
What I love about this shoes is that you can style them up with so many different outfits and I can’t wait to use it this coming Winter to spring season! What you can say about the style that I choose? isn’t it pretty? Do you own one too? Let me know about it and leave it in the comment section and I would be happy to read it all 😉 Till next time 🙂


Want to earn extra income from posting online? Be an affiliate -magpost & share ka lang sa social media mo at kikita ka na.
Sign up here: https://invol.co/cl8ic5b
Amazon wish list👉: CLICK HERE

♥ BUY in LAZADA Together Lights Up the Moment : Up to 17% OFF + FREEBIES worth 1499
👉https://invol.co/cl589iq
👉 https://invol.co/cl2k12o
♥ Would you like to shout me a cup of coffee
![]()
🍭SUBSCRIBE ka na please 🙂 libre lang namn hihi Salamat :⬇️
https://www.youtube.com/channel/Kyutipie_Misay
https://www.youtube.com/channel/Kyutipie_Misay
DISCLAIMER: This post contains affiliate links, which means I may receive a small commission for clicks and purchases made.
I hope you all enjoyed watching my video and if you did please don’t forget to tap my back with BIG like 👍 and subscribe if you haven’t yet.
PLease leave comment down below. I would be happy to read it all ..💜💋


🌼Support donation🌼
Running a blog & Youtube takes a lot of time, money and effort. Become a part of a selfless patron by buying me a coffee ☕ or sponsoring a post is really a big help! Your support is highly appreciated and it really means a lot to me. I DO Thank you 🙂
Get Ready for Fashion Week!
Flat $100 Off Top Brands.
Use Code: FW100

☀ YOU CAN FOLLOW ME sa Social Accounts KO:
INSTAGRAM: https://www.instagram.com/mitchhy2002/
TWITTER: https://twitter.com/mitchhy2002
https://mitchhy2002.com/
https://mitchhy2002.blogspot.se/

********************************************************************
I’m open for product reviews/ sponsorship/ ads and collaborations etc. please email me at: MITCHHY2002@GMAIL.COM
********************************************************************
☀ What Equipment I used:
Camera : Canon G7x markII
Software Editor: Adobe Premiere ProCC-2015
Thumbnail Editor: https://www.befunky.com/
❤ See you on my next video ko po 😉
Take care mmmwuah! ❤
********************************************************************